

Over the years my collection of ornaments have grown so large that my poor tree has hard time holding up the weight. In the past few years I’ve only bought vintage ornaments and only if they are one of a kind and super cool looking. This year I’ve been making my own ornaments mostly with paper (the tree needs not to fall from the weight). A couple of weeks ago I shared a tutorial on making paper ornaments from paper tubes (like paper towel, toilet paper and similar). Today I’d like to share how to make origami star ornament.
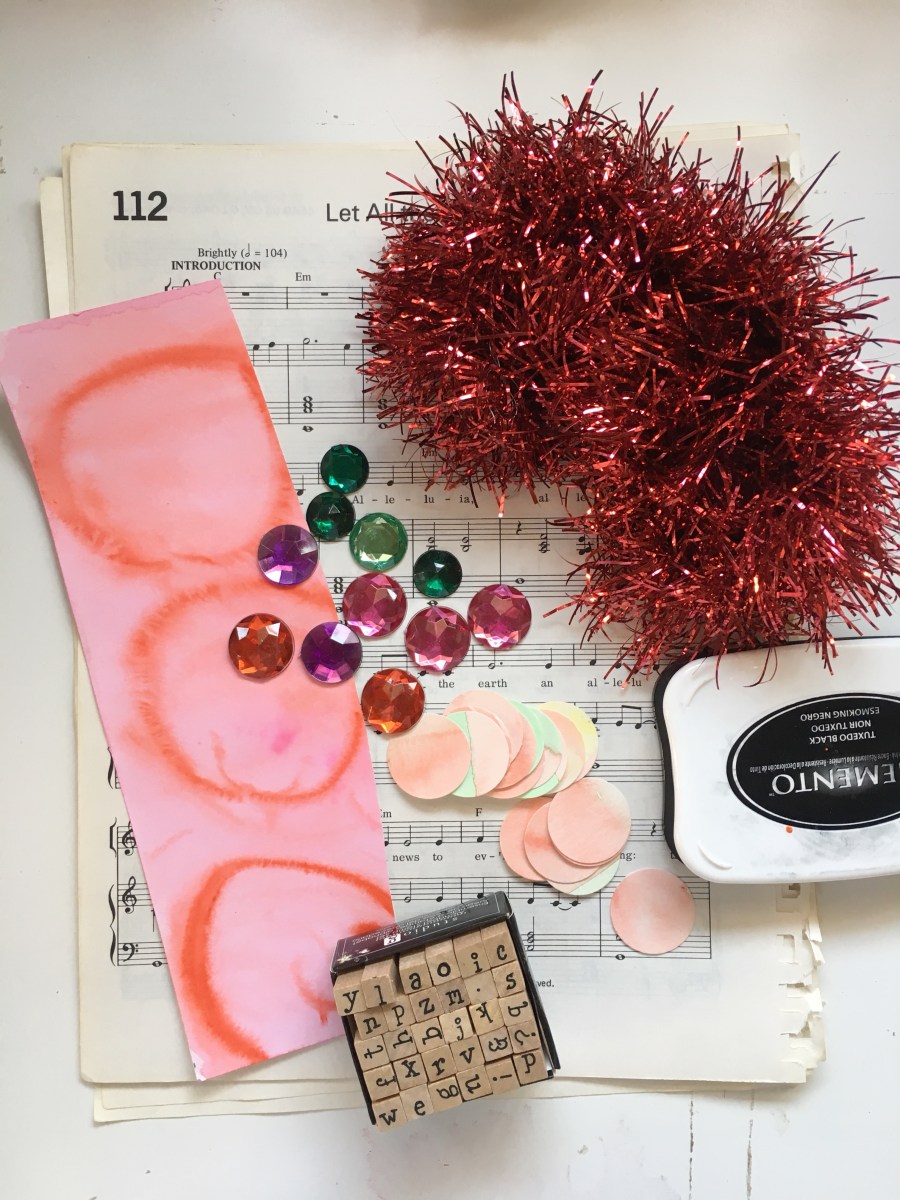
Supplies:
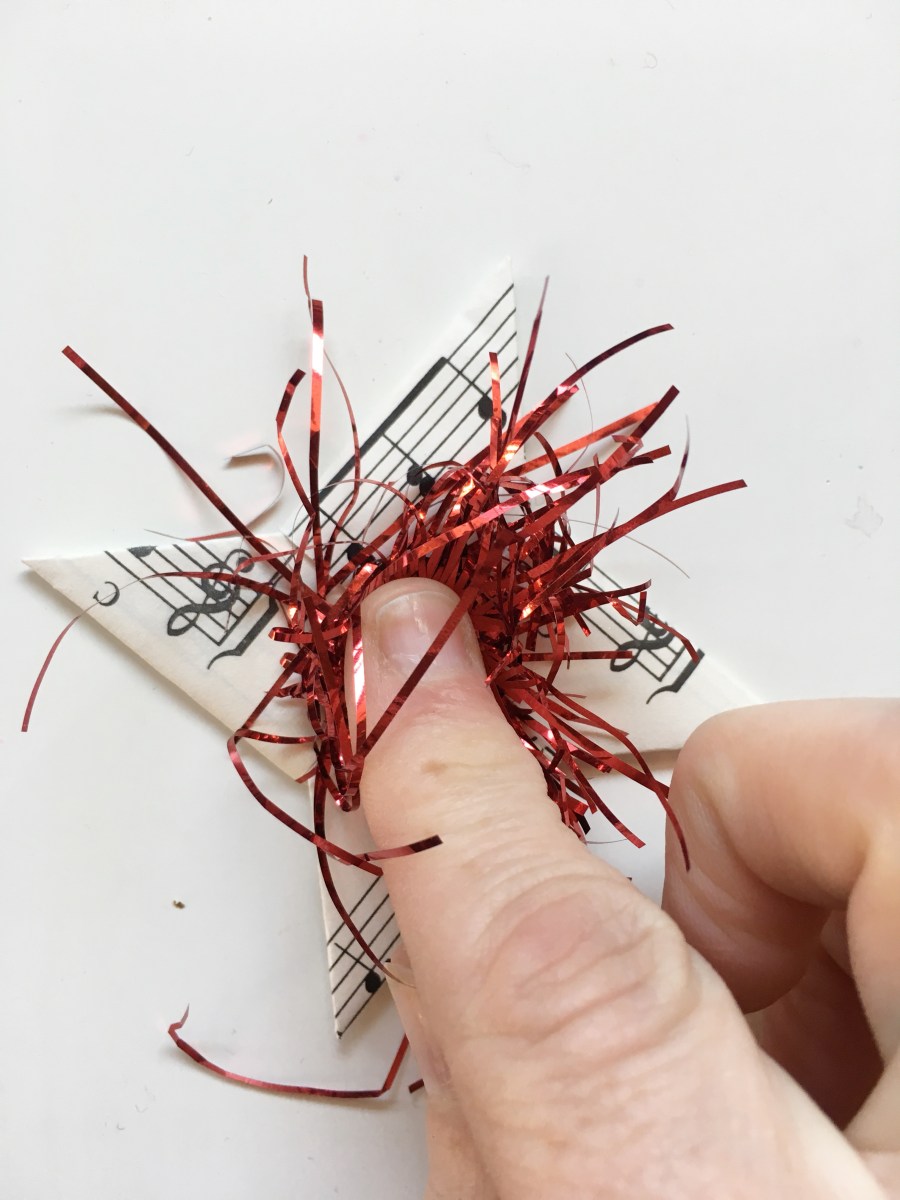
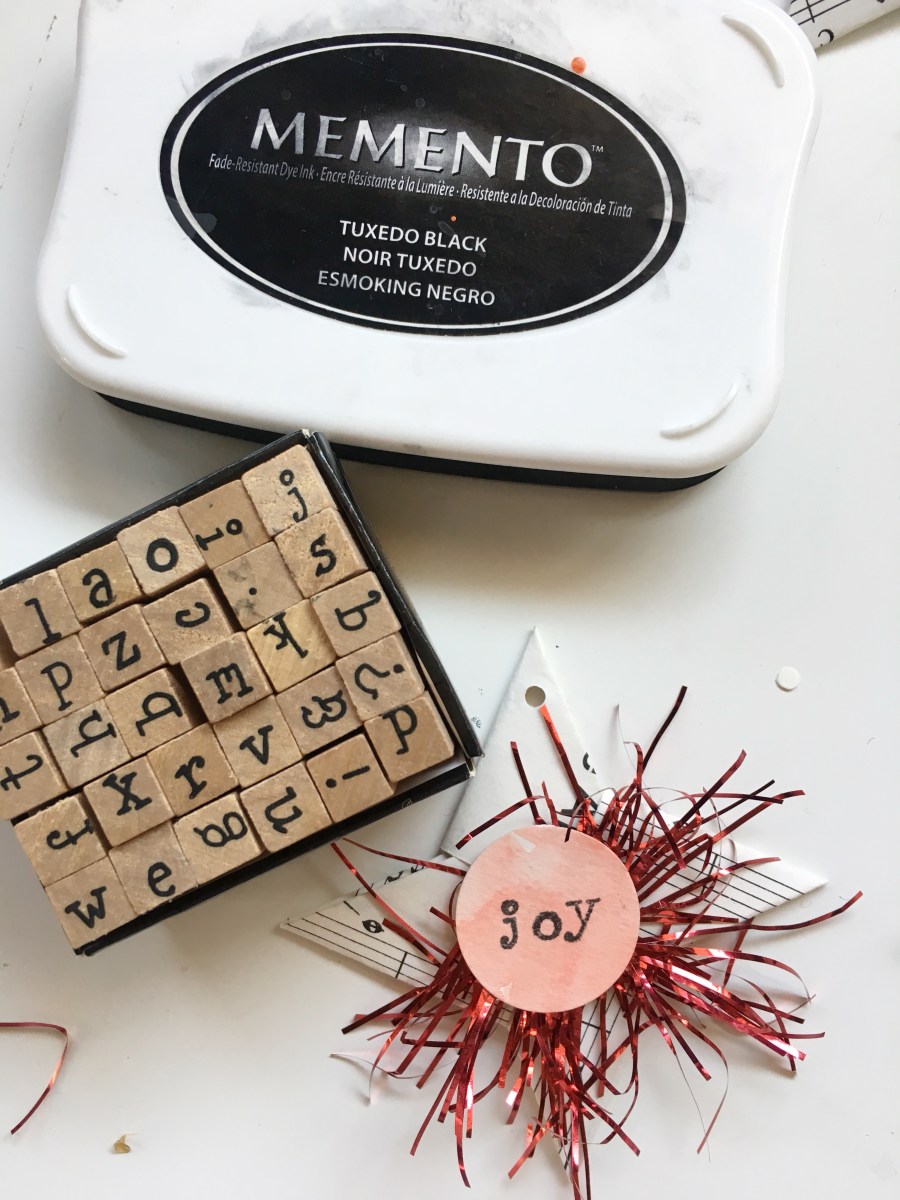
Music paper (or any other paper), card stock (or watercolor wash is what I used), hole punch (both 1″ and 1/8″), tinsel (or any fuzzy yarn), letter stamps (or you can do your own little calligraphy), ink, faux gems.
Technique:
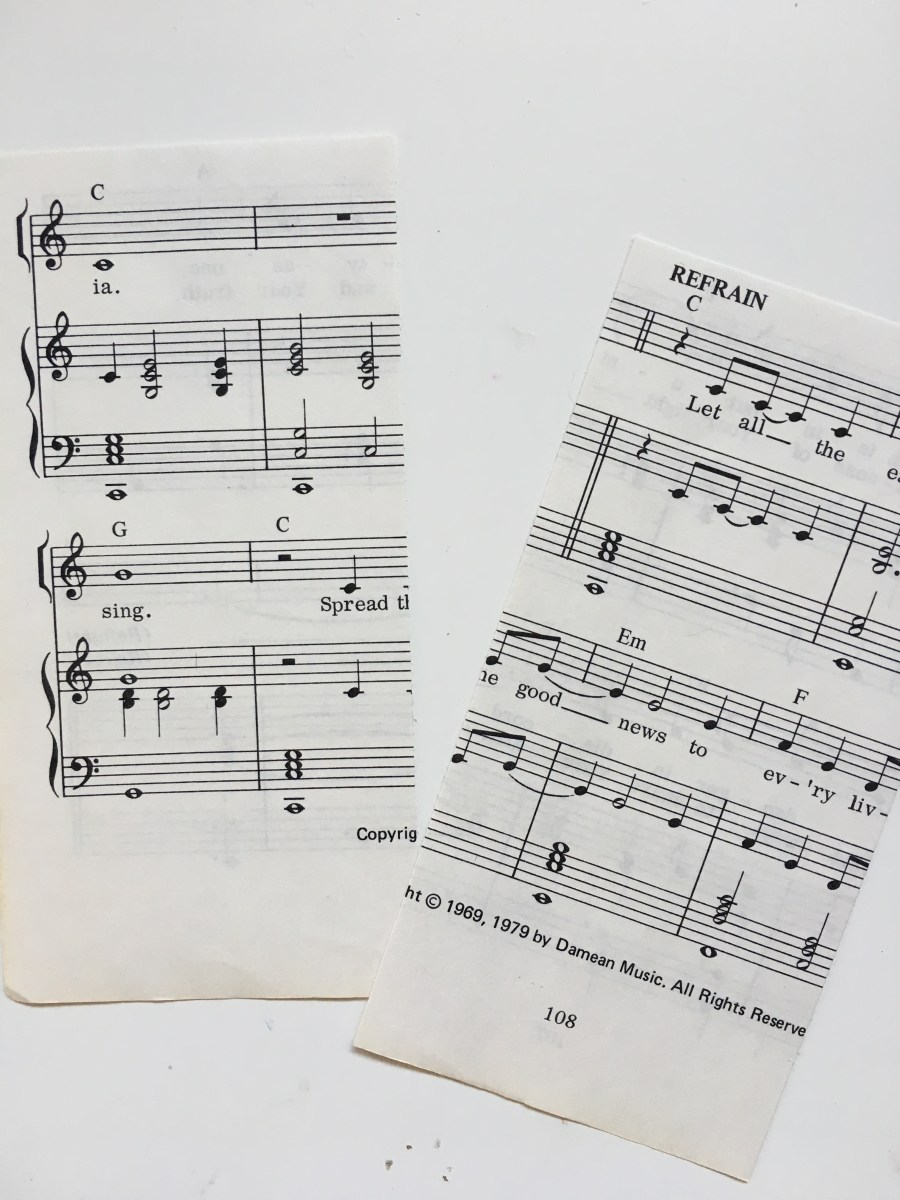
Cut your paper in a square (mine was 5.5″ x 5.5″). Then cut the square in half.
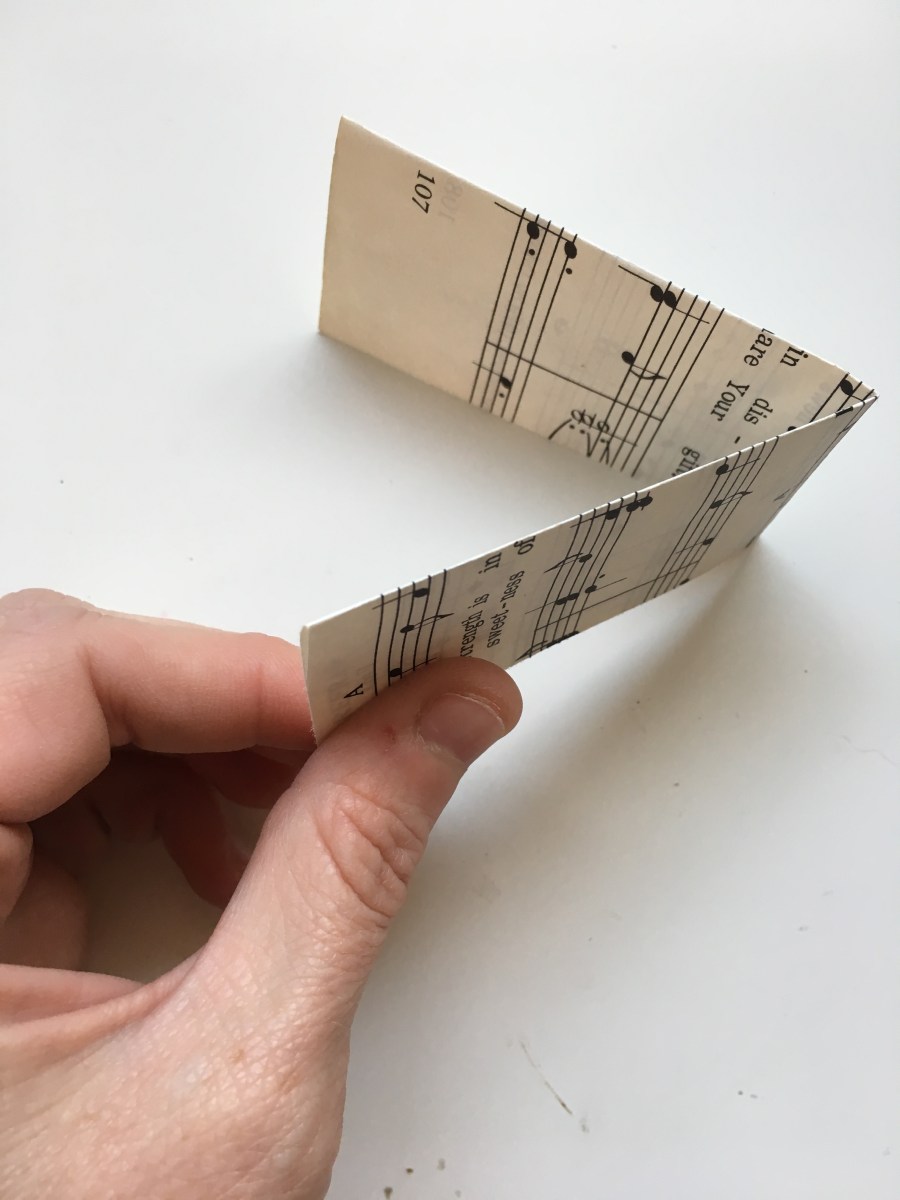
Fold one of the pieces in half lengthwise.

And then fold in half again width wise.
Unfold and fold each side to the crease but in opposite direction of each other.
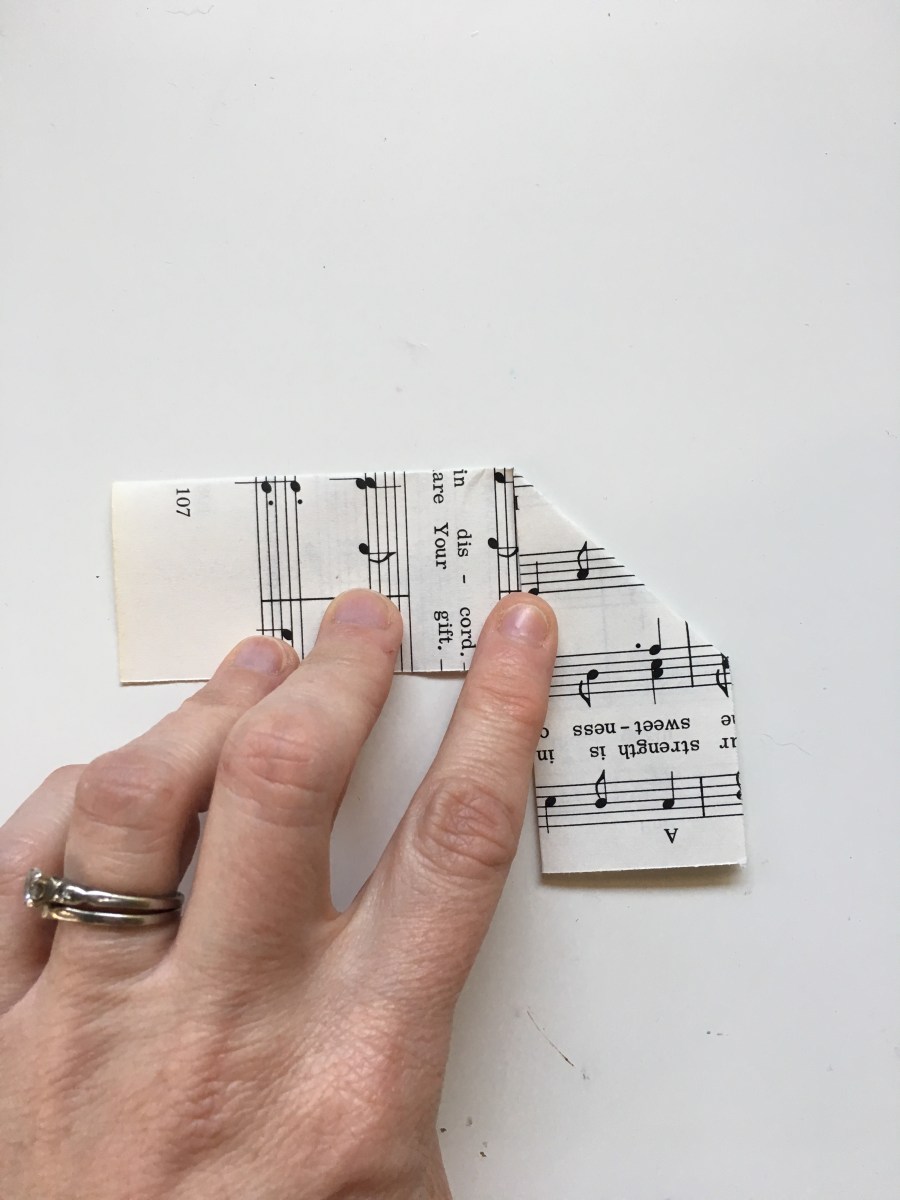
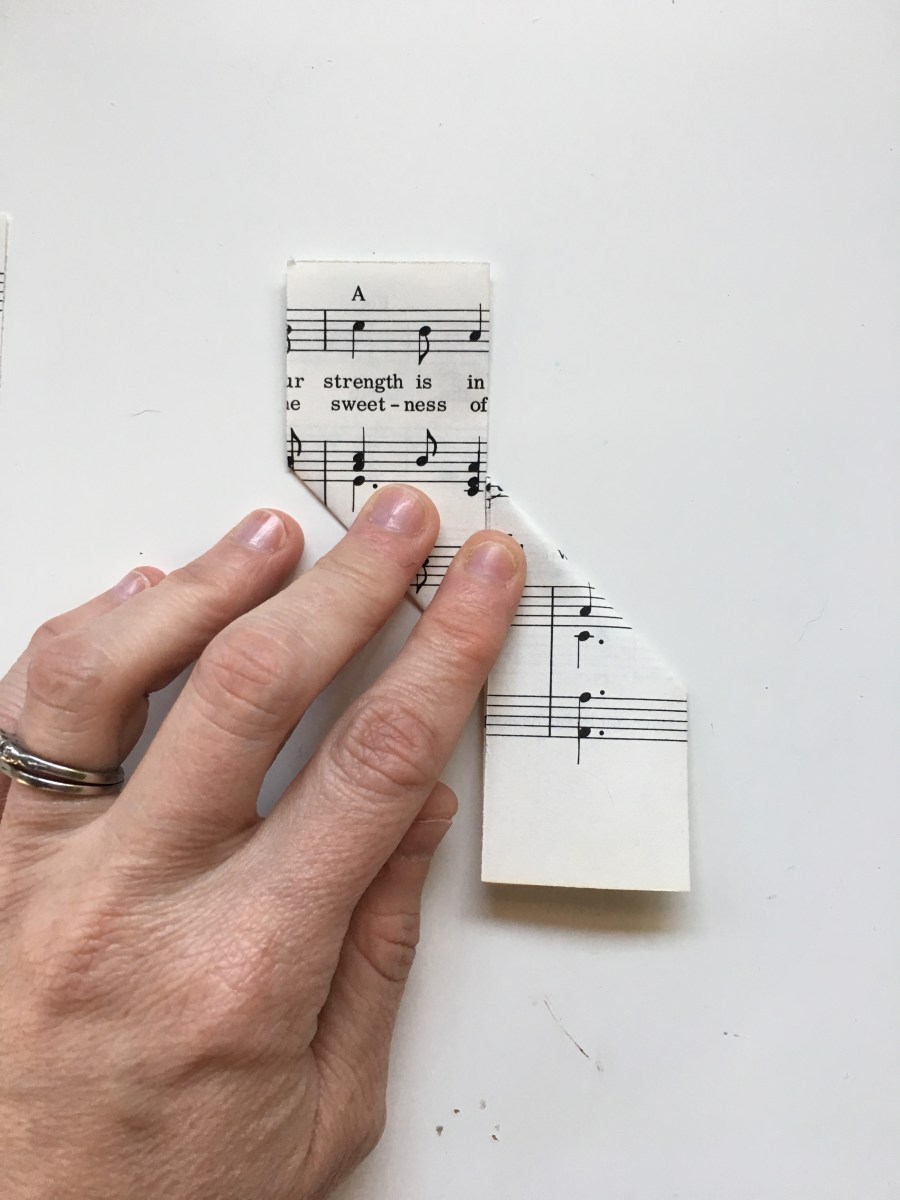
Flip it over and fold the ends.
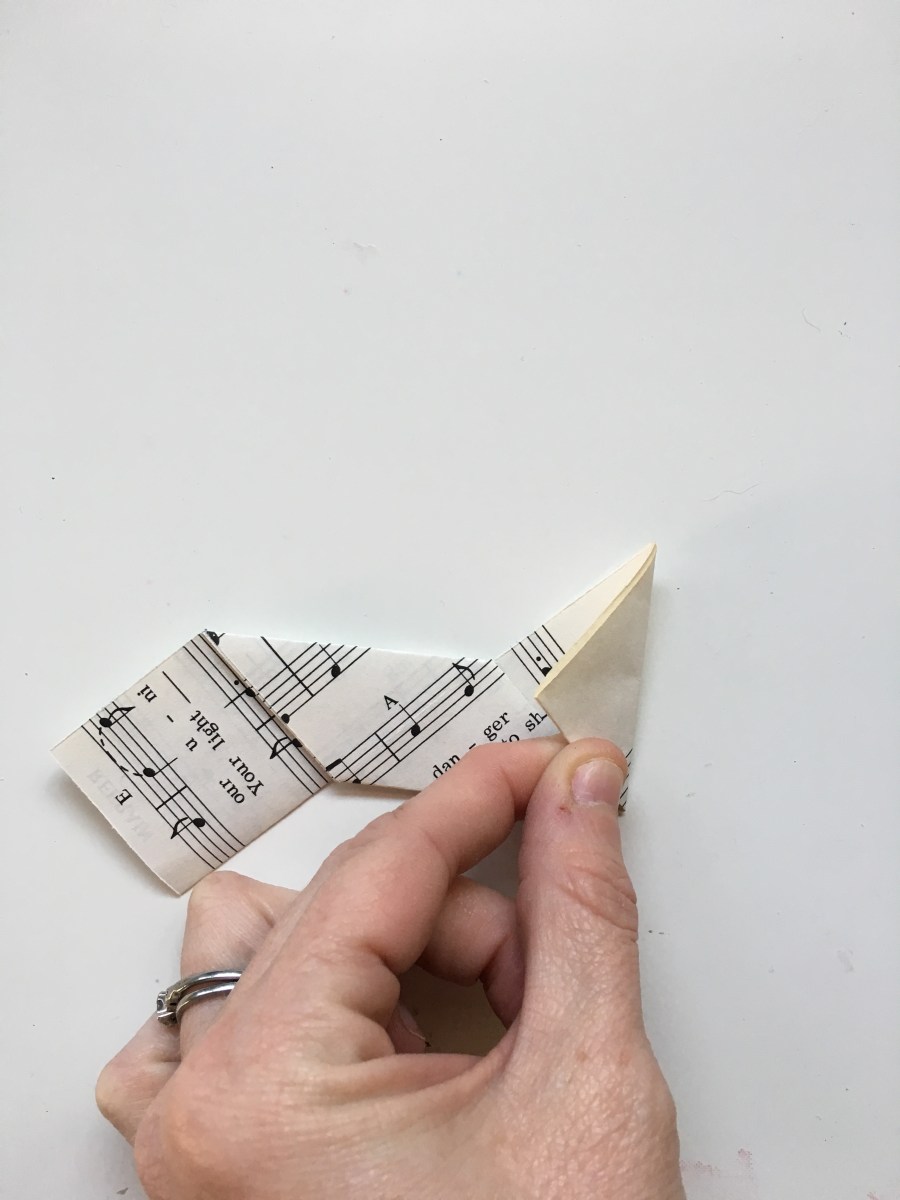
Then set it aside and repeat the steps with the other half of the paper. Once you are done lay one on top of each other to form a cross.
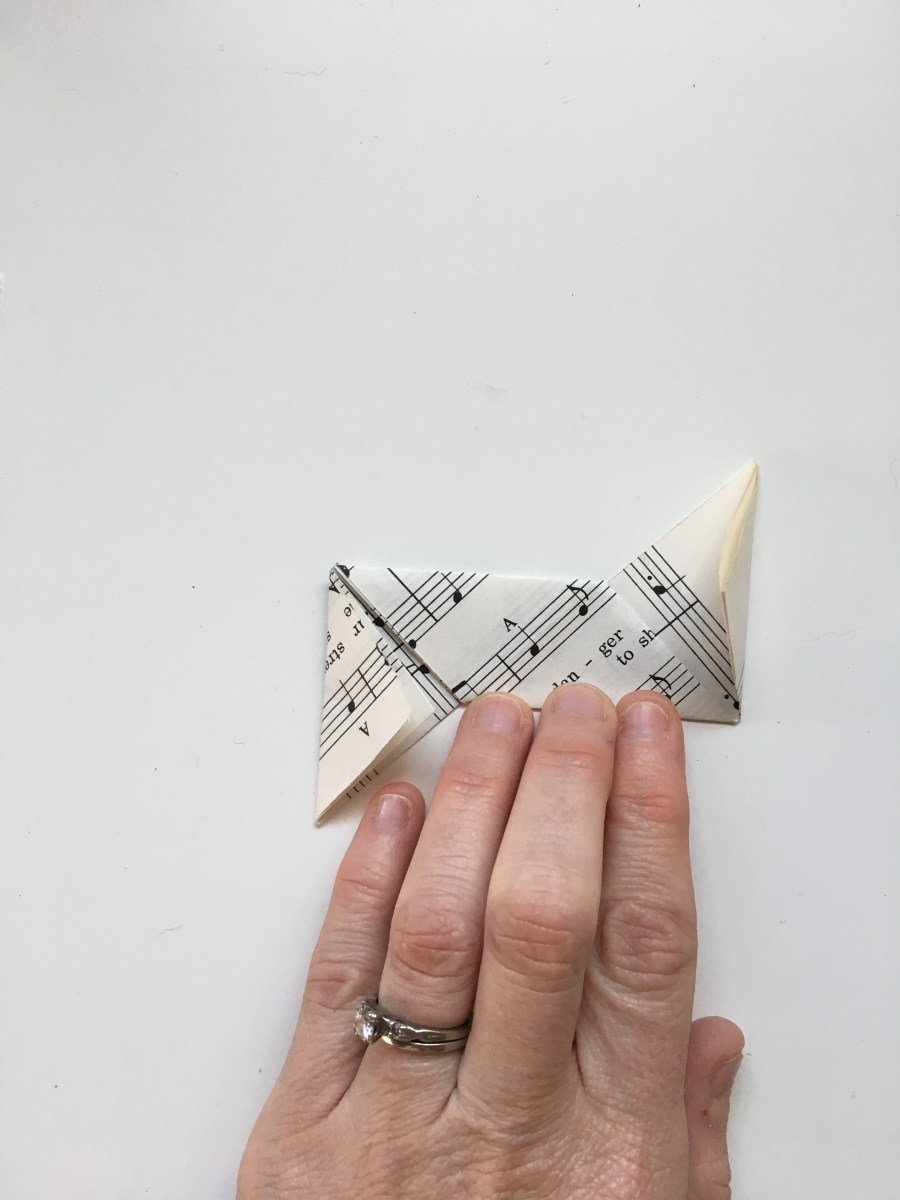
And then fold the corners in like you would close a box. Start with the corner on the left hand side and work clockwise.
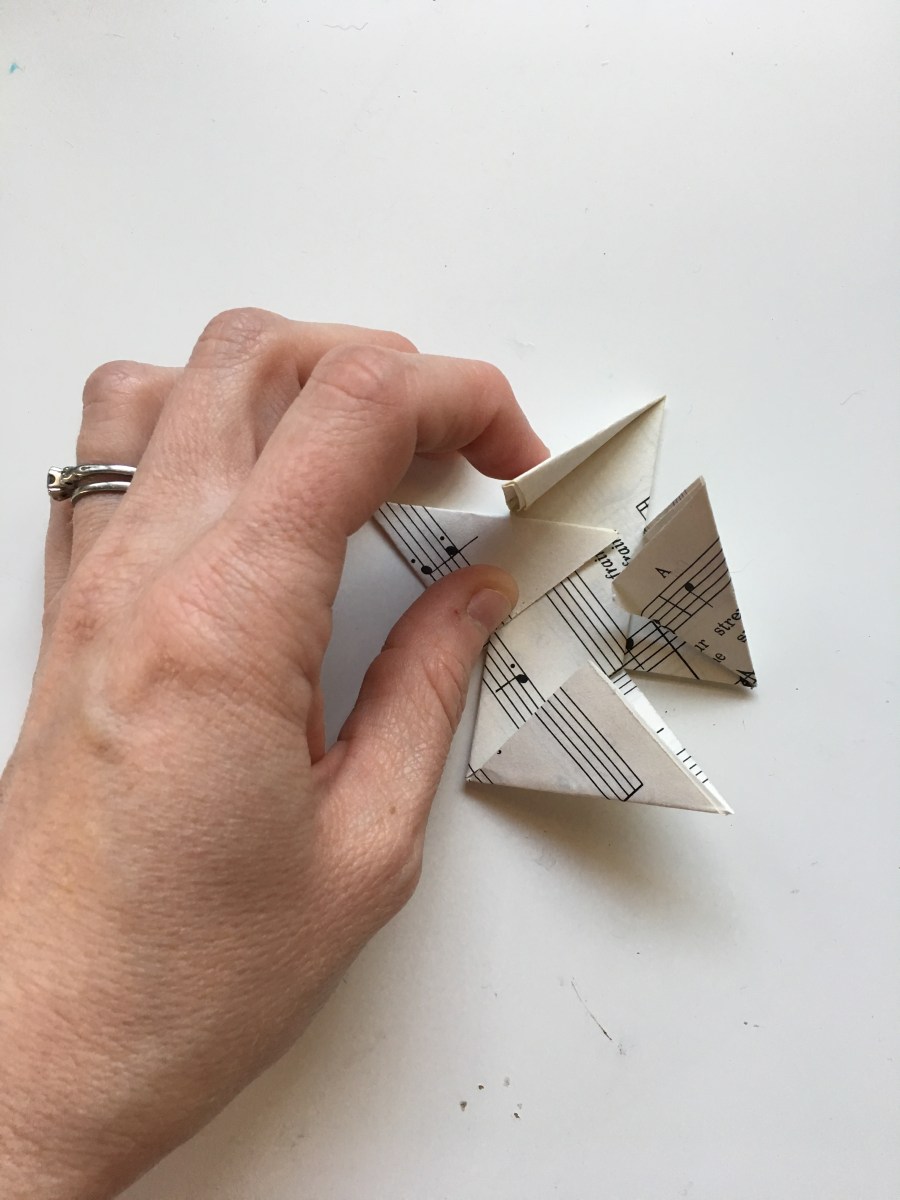
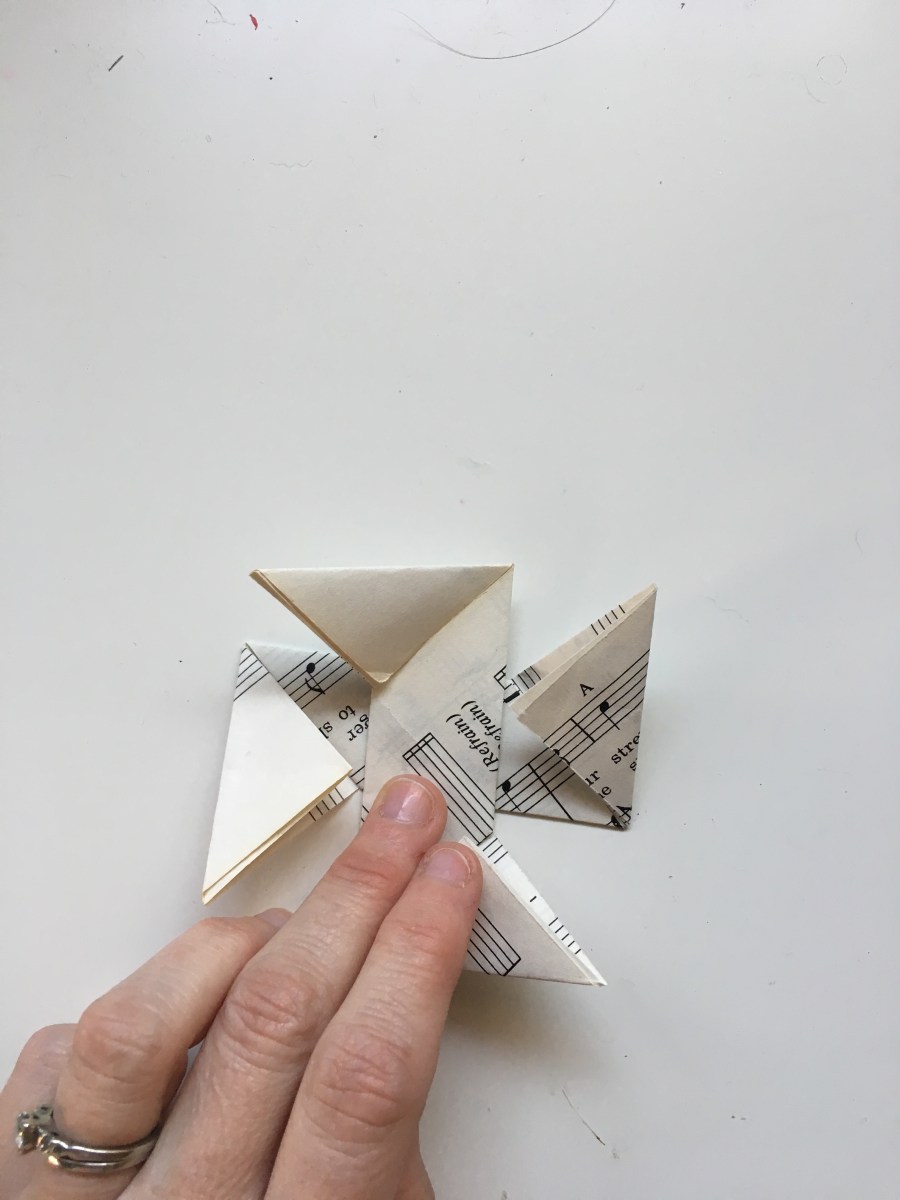
Tuck the last corner under.

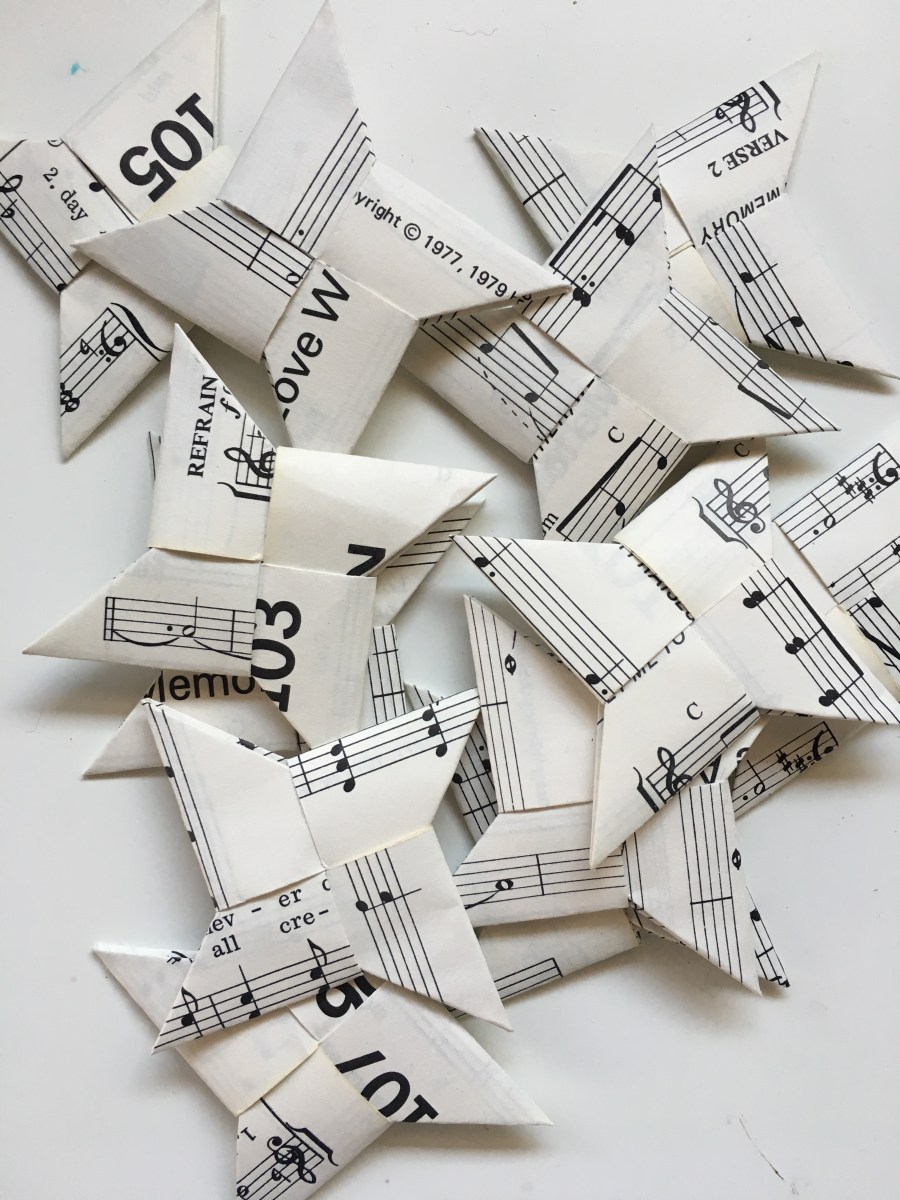
I actually have a YouTube tutorial if you are interested in watching a video. A while back when my kids were obsessed with fidget spinners I made these same origami stars and turned them into fidget spinners.
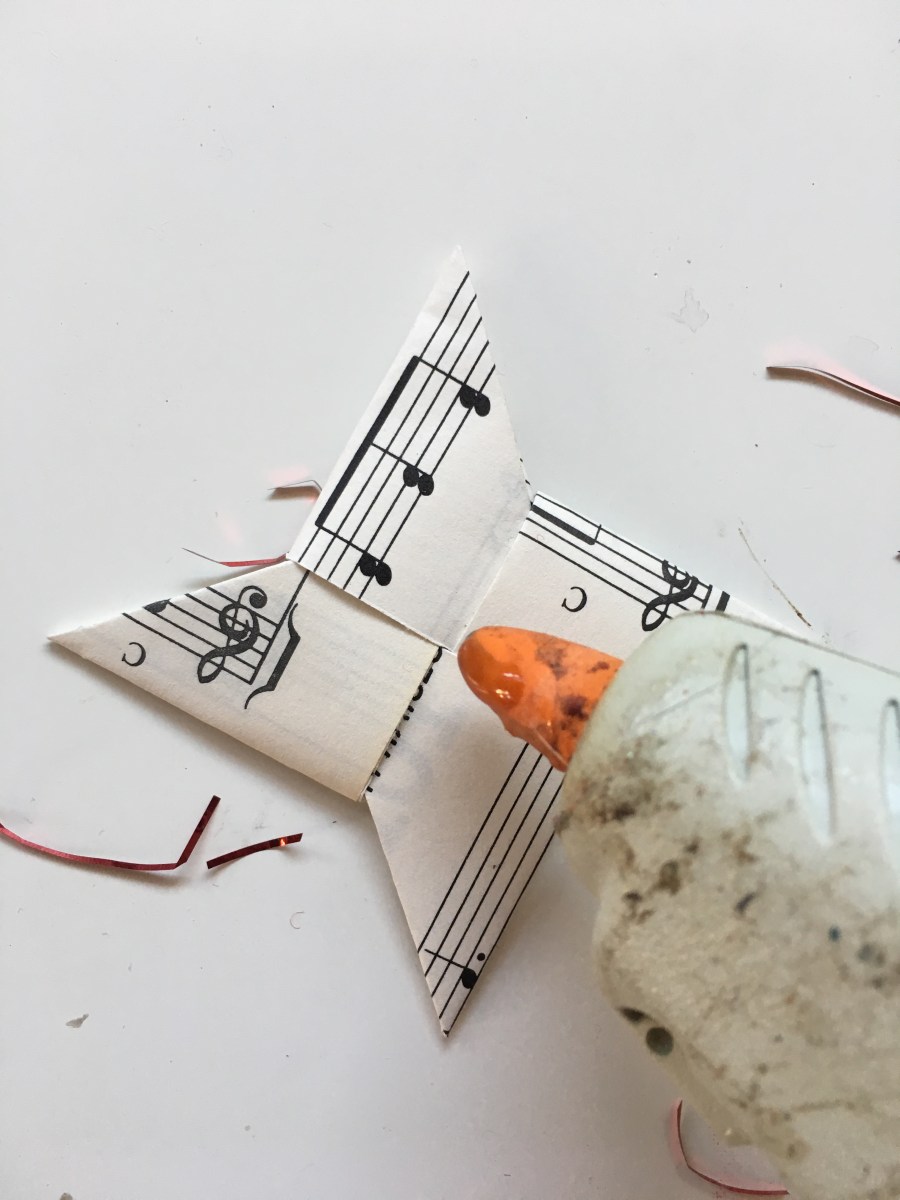
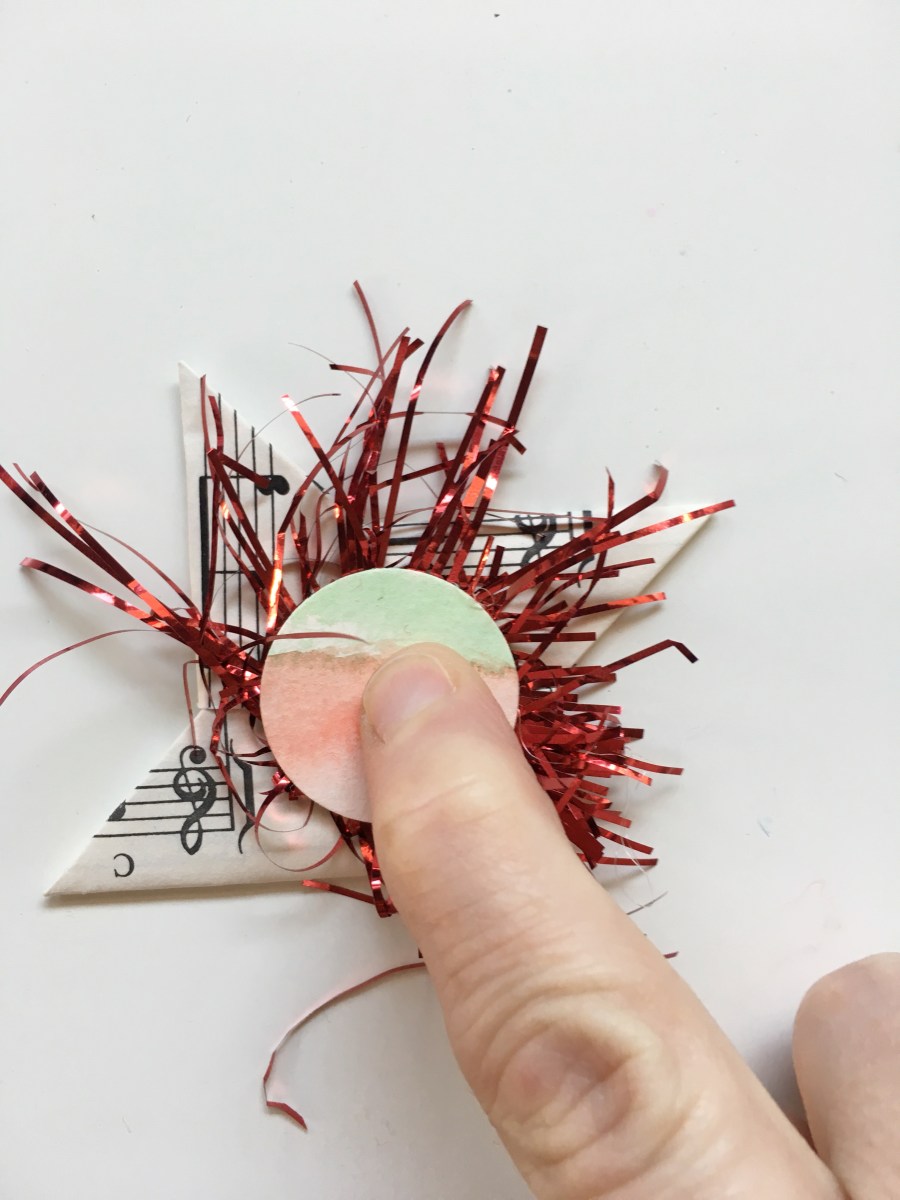
Once you have made a bunch of these the fun begins. You can decorate them any way you wish or leave them plane. Poke a whole on the top with the 1/8″ punch and tie up string, ribbon or anything you want to hang them.


Nice idea. Great!!
Love these!
[…] Origami ninja stars ornaments […]