

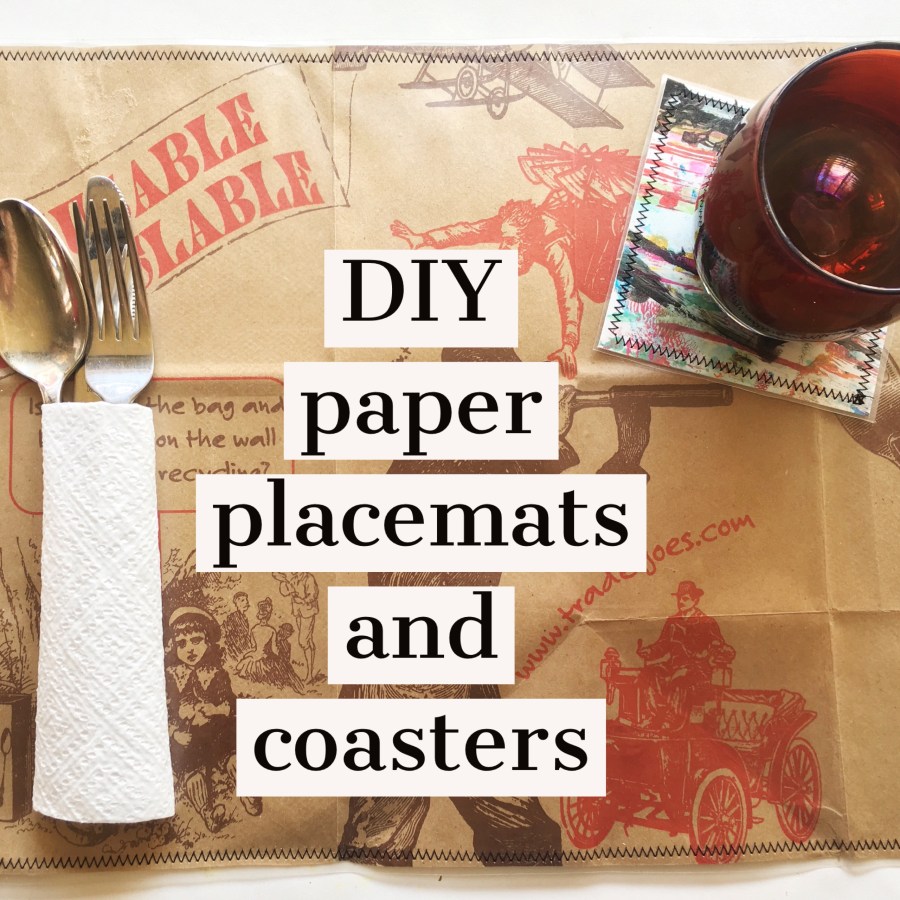
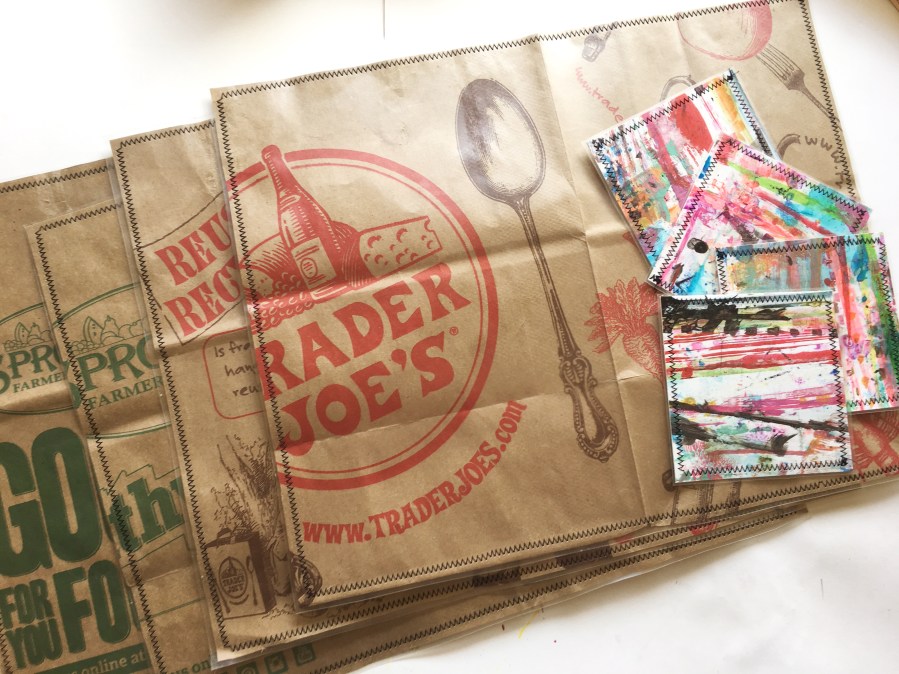
One of my favorite things to do is to find new uses for items that I am about to discard. When I go grocery shopping I try to bring my own bags, but I am not perfect, so when I forget I try to use brown paper bags when the store has them. Some stores, like Sprouts or Trader Joes, have very cool paper bags with artwork on them. These are great to use in your crafts and your home. In this tutorial I share how to repurpose them into place mats. I also used a large white cardboard piece that served as a mat during a recent retreat I attended with Alisa Burke. This cardboard got all kinds of color, brush strokes and marks while I was working on art journal pages, that I didn’t want to discard. I used it to make coasters.
Enjoy!
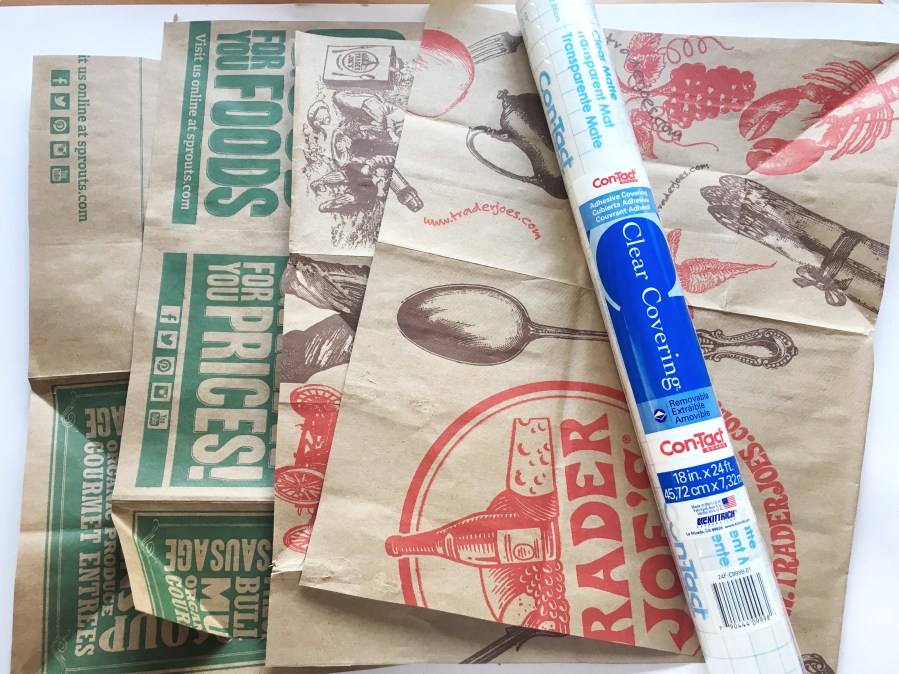
Materials: brown paper bags, clear matte contact roll (same thing you use to line your drawers or kitchen cabinets), scissors, sewing machine
Instructions:
Start by choosing a couple of paper bags. These can be brown grocery bags or gift bags. Remove the handles and cut out the bottom.


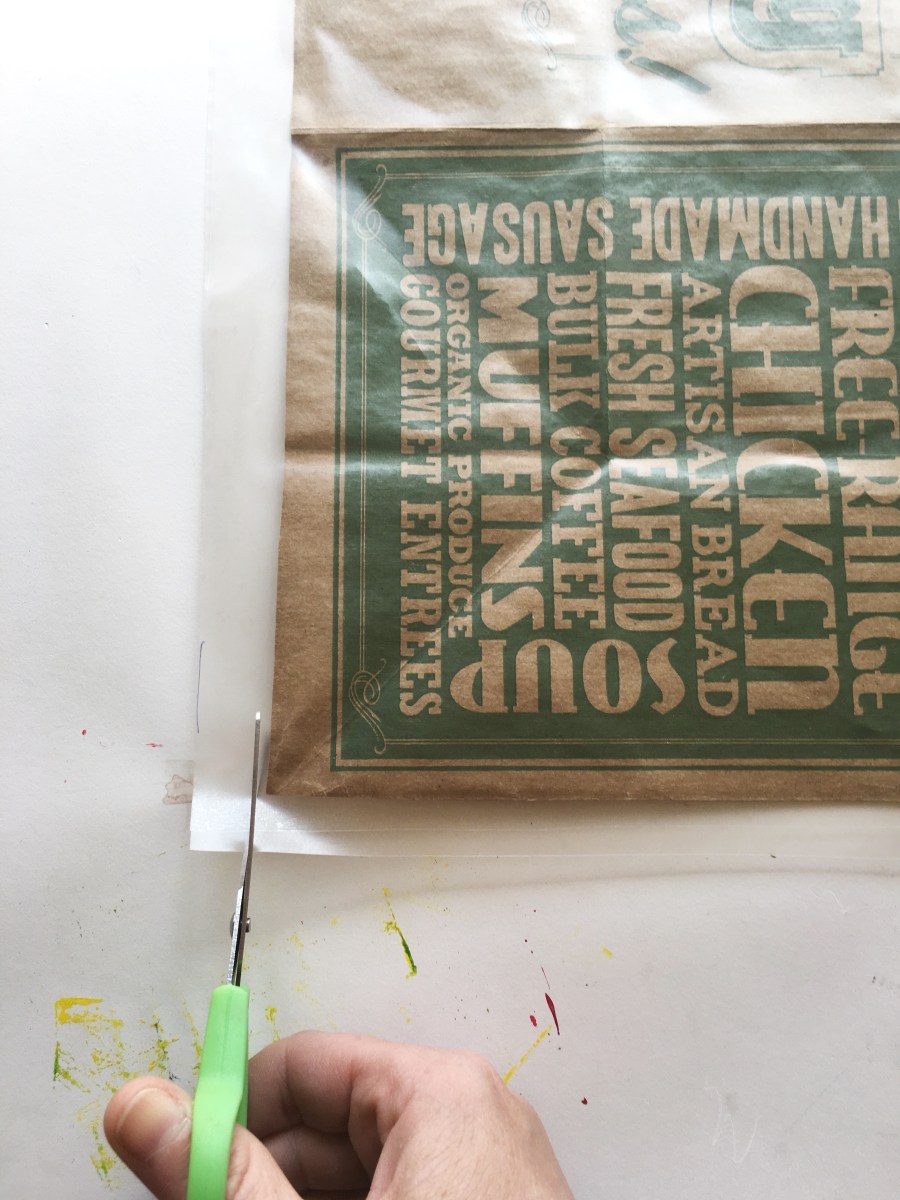
Next cut out rectangle shapes. I was able to get two 14″ x 11″ pieces out of one bag. But they can be any size that you’d like your place mat to be. Be sure to include most of the artwork on the bag.
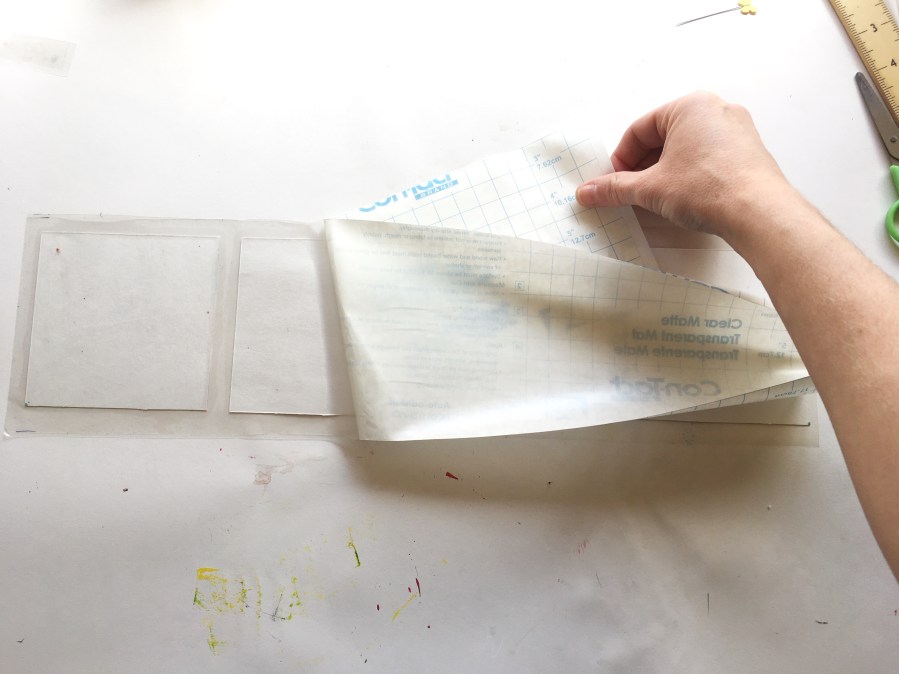
Then using the contact roll cover the front and the back of each place mat. It can get a little tricky. I started with the corner, then I kept slowly removing the back from the contact roll. Also make sure that you cut the contact roll piece a little bit larger than your place mat, it will make it easier to cover your place mat.

After both sides of your place mat are covered with the contact roll trim any excess from the sides leaving about 1/8″.
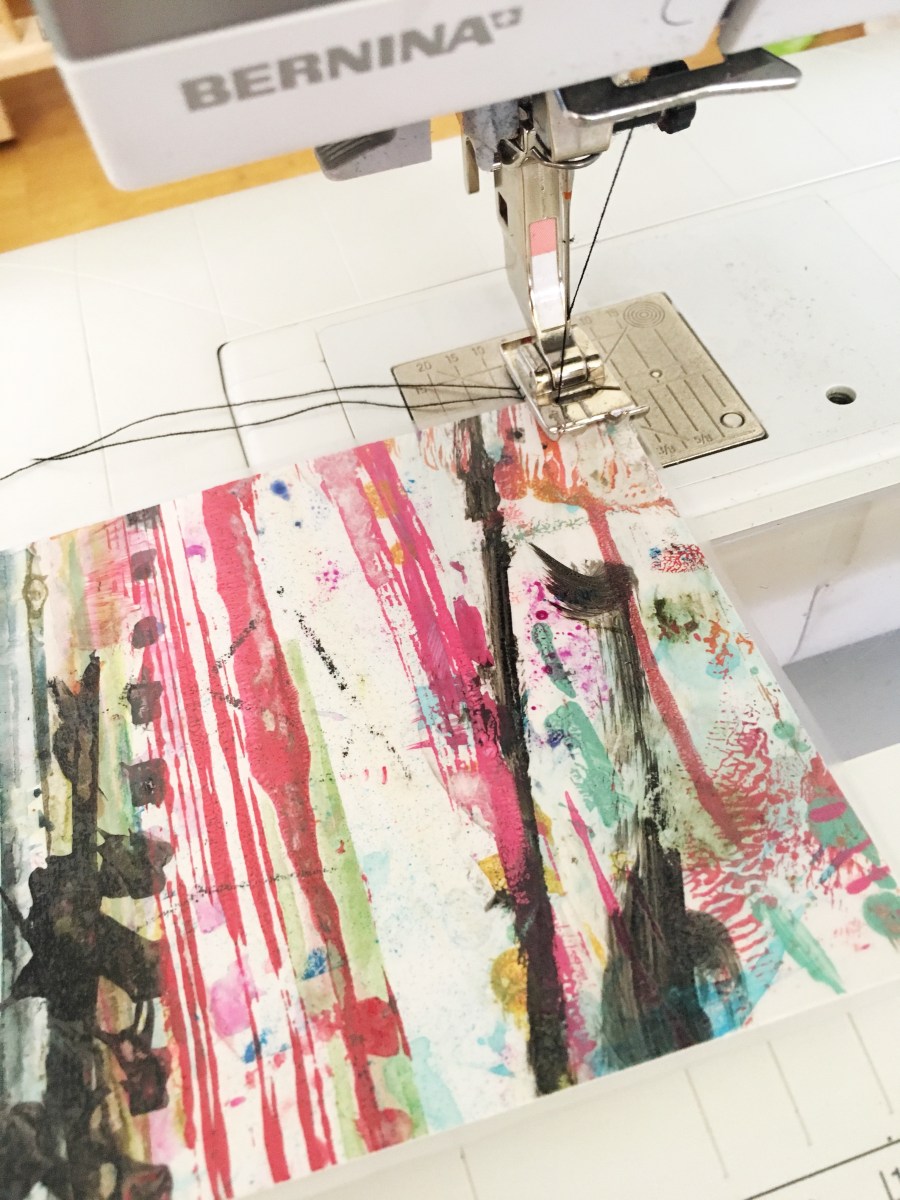
Once both sides of your place mat are covered with the contact roll, go to your sewing machine and sew around the edges. The stitches keep everything together. Even though the contact roll is sticky, it’s not permanent and your place mats will last longer if you add stitching.

For the coasters:
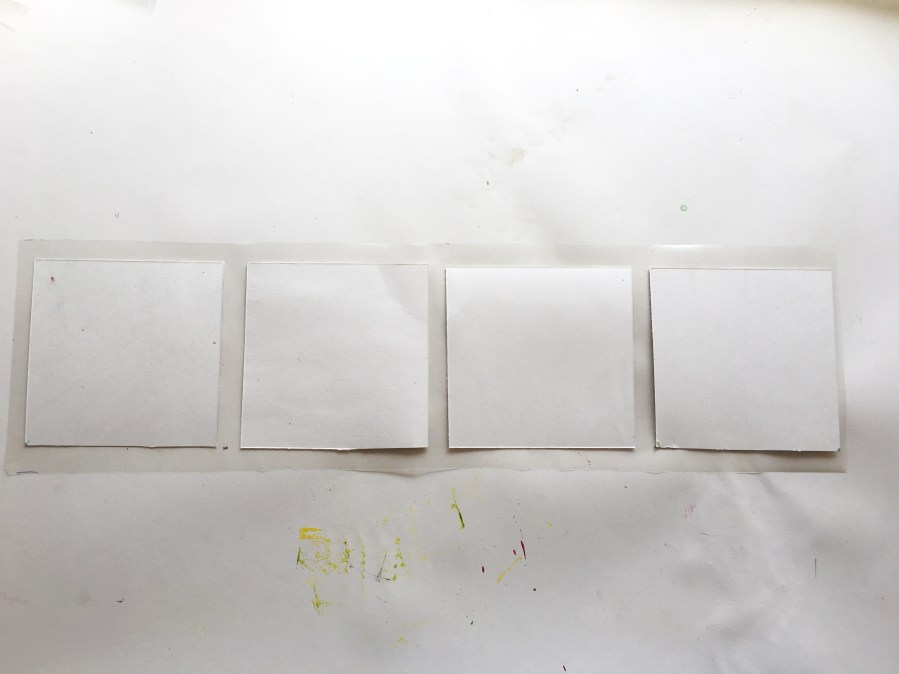
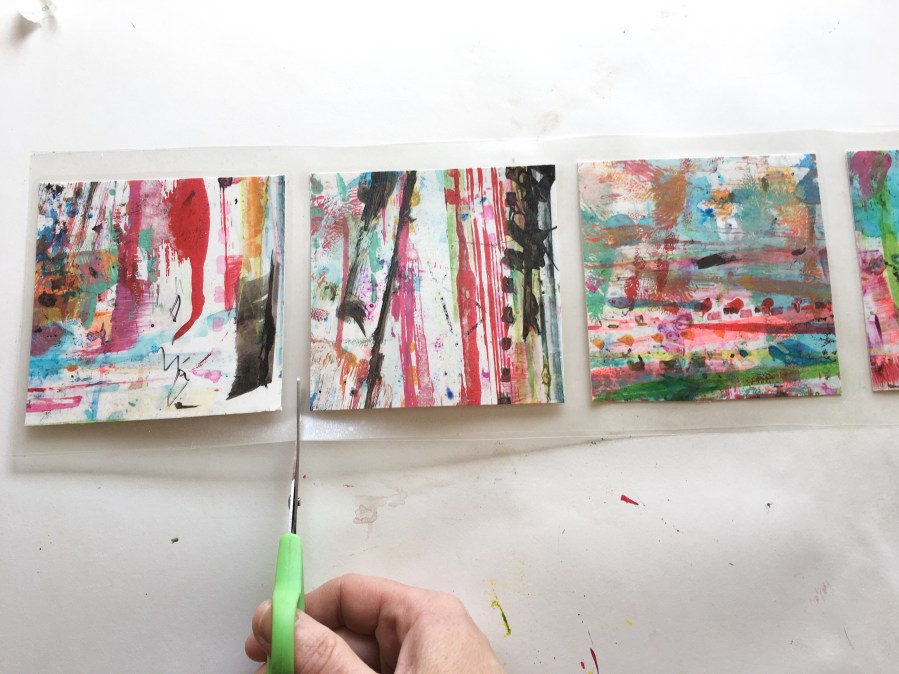
Cut down the paper you are using into 4″ x 4″ squares.


Cut down a strip of the contact roll. I was able to line all 4 coasters in one row.
Cover the back with another strip of the contact roll.
Then cut them up into individual pieces and trim to about 1/8″ of the contact paper to be outside of the borders.
On your sewing machine stitch a border, just like for the place mats.
And you are done!


I LOVE these! What a great idea and so cute, too. 🙂