
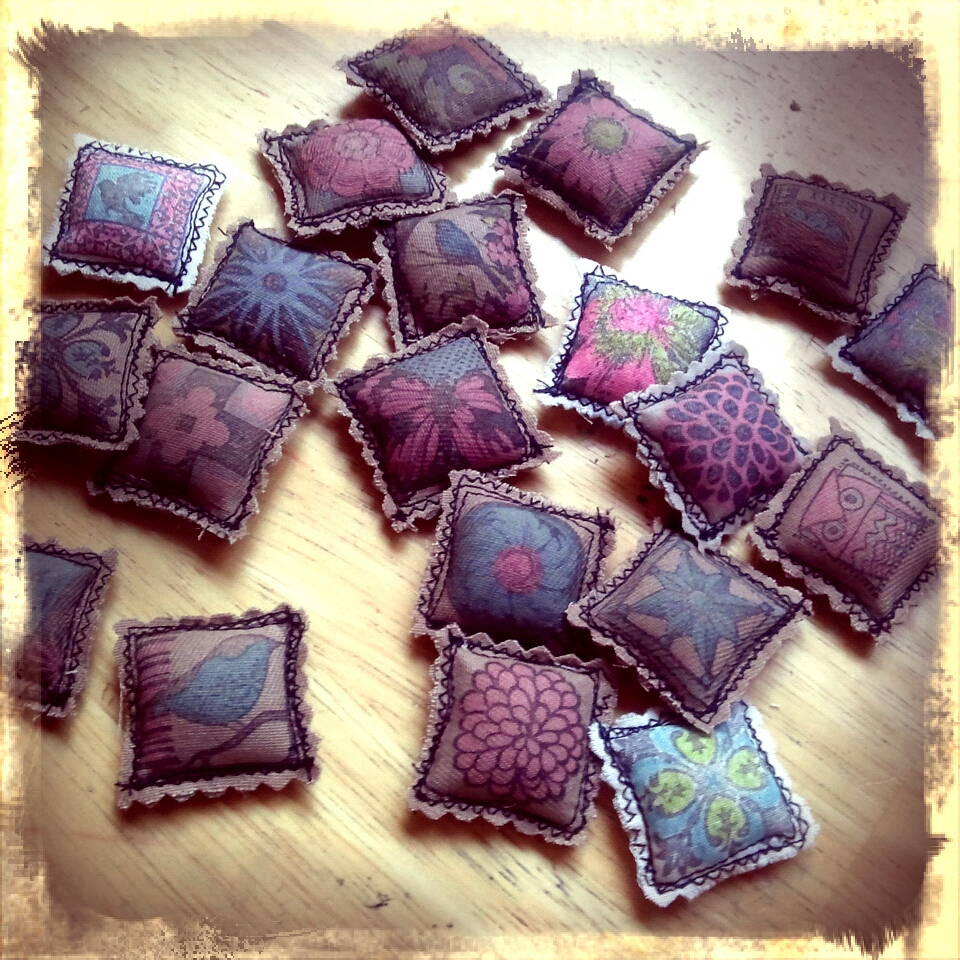
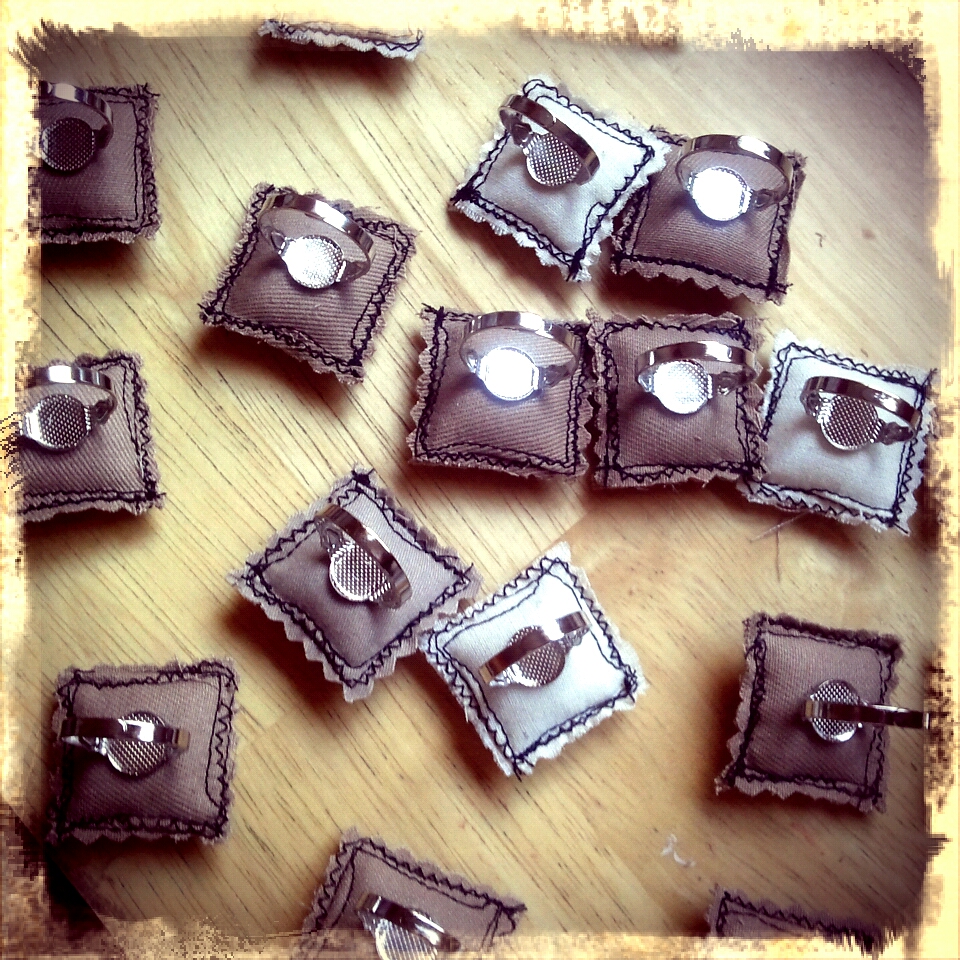
Do you sew? By machine or hand? I’d like to share a quick tutorial on how to make yourself a fabric ring. It can also be a small pincushion.
Here is how:
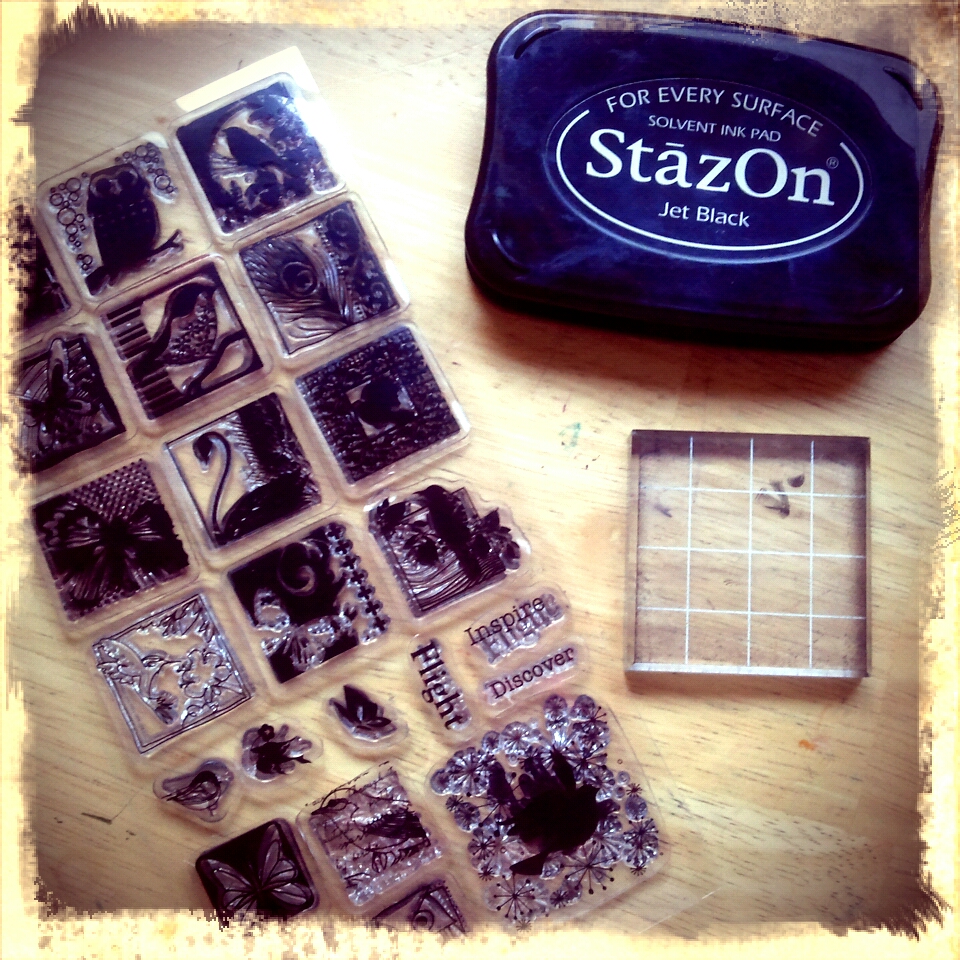
Tools and Materials: fabric, stamps, ink, scissors, sewing machine, polyfil stuffing, adjustable ring, thread
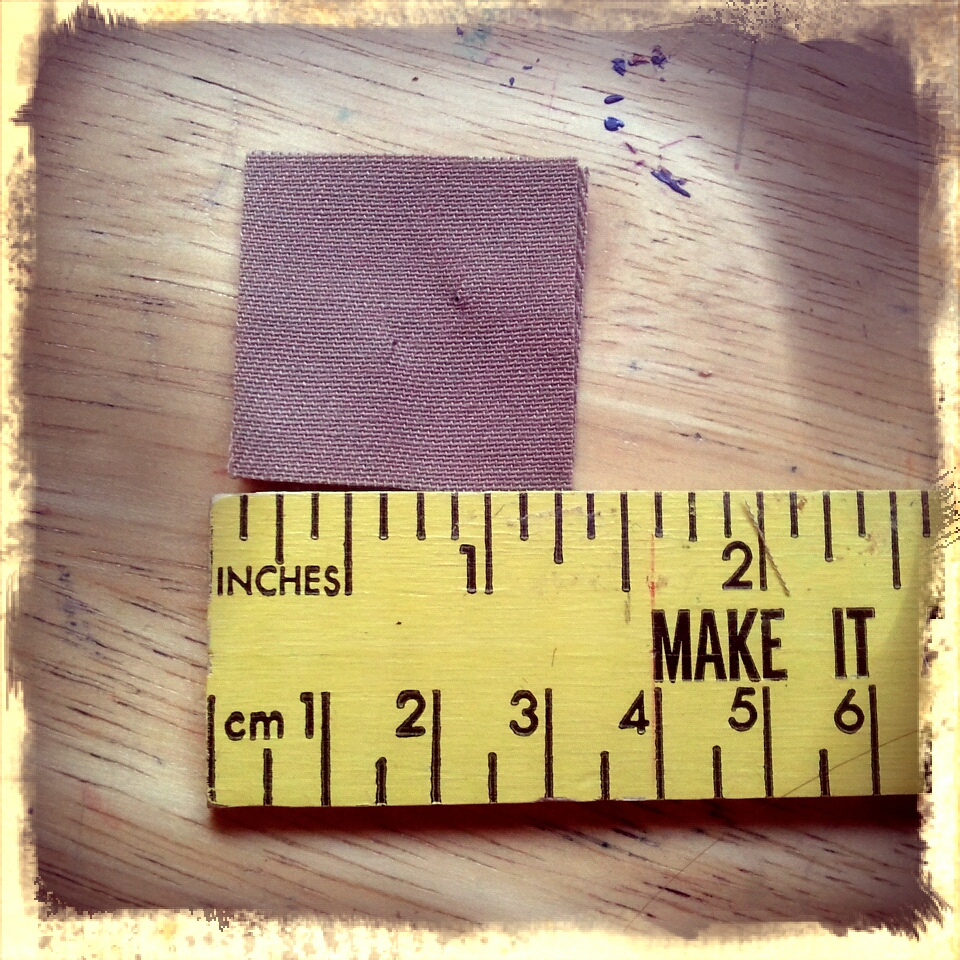
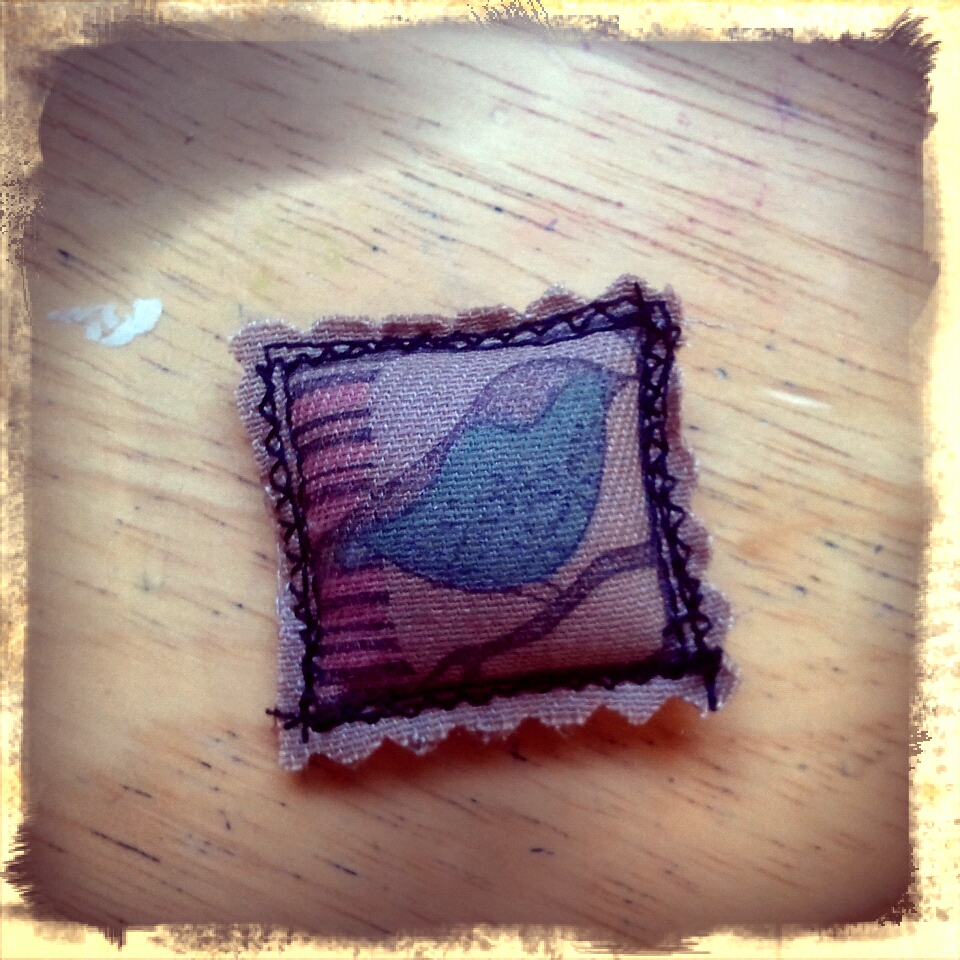
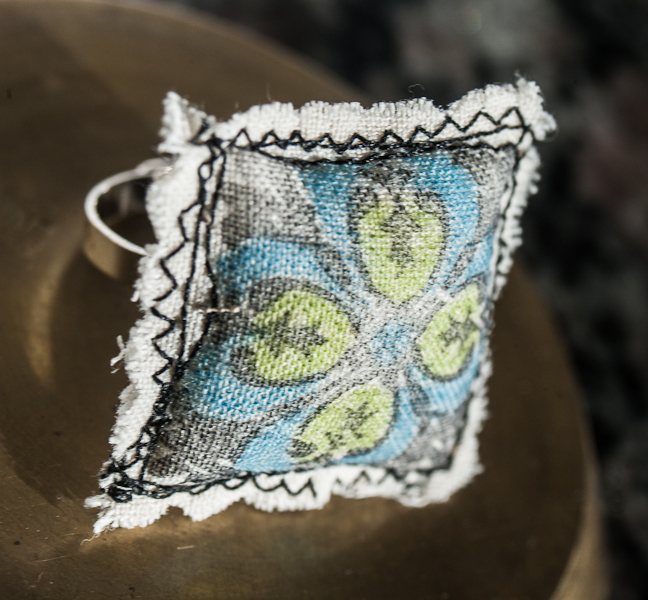
1. Cut your fabric in little squares. You will need two squares per ring.
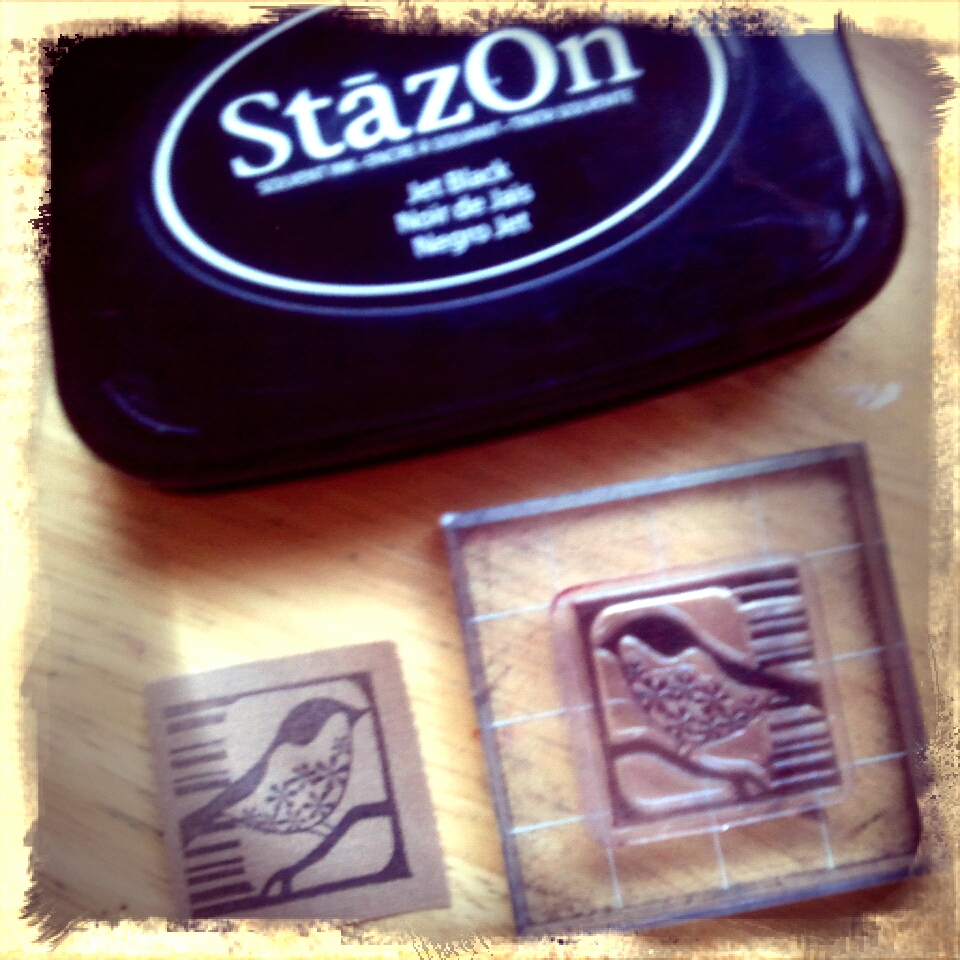
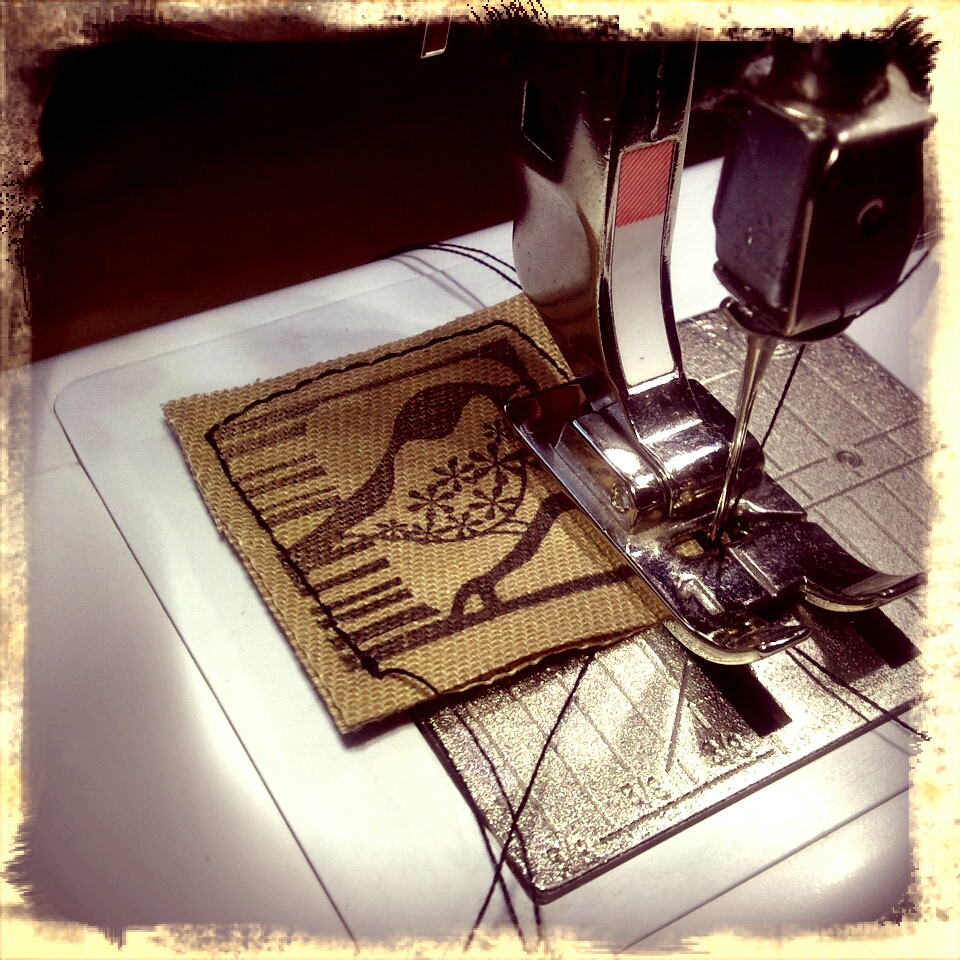
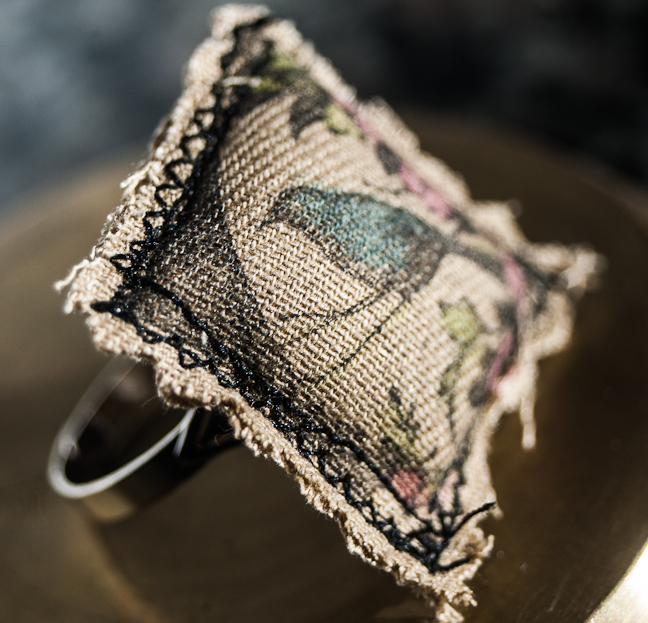
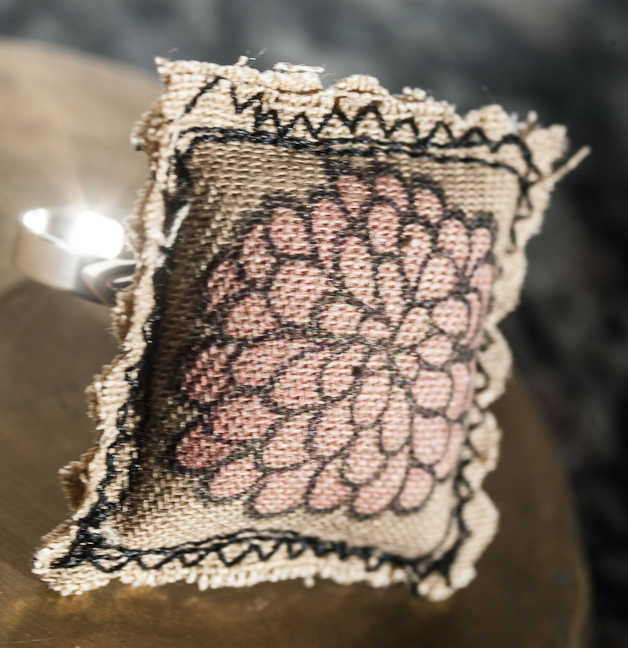
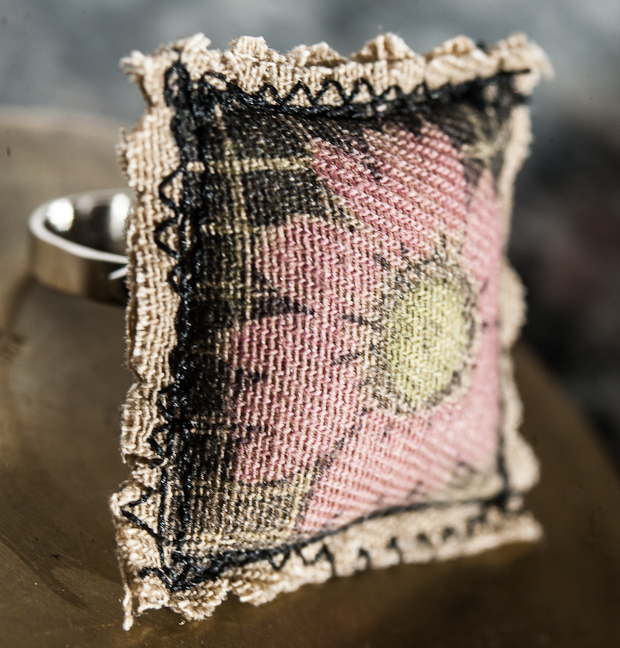
2. Use stamps and permanent ink to stamp an image on your fabric square. I like StazOn ink. I used that in Black.
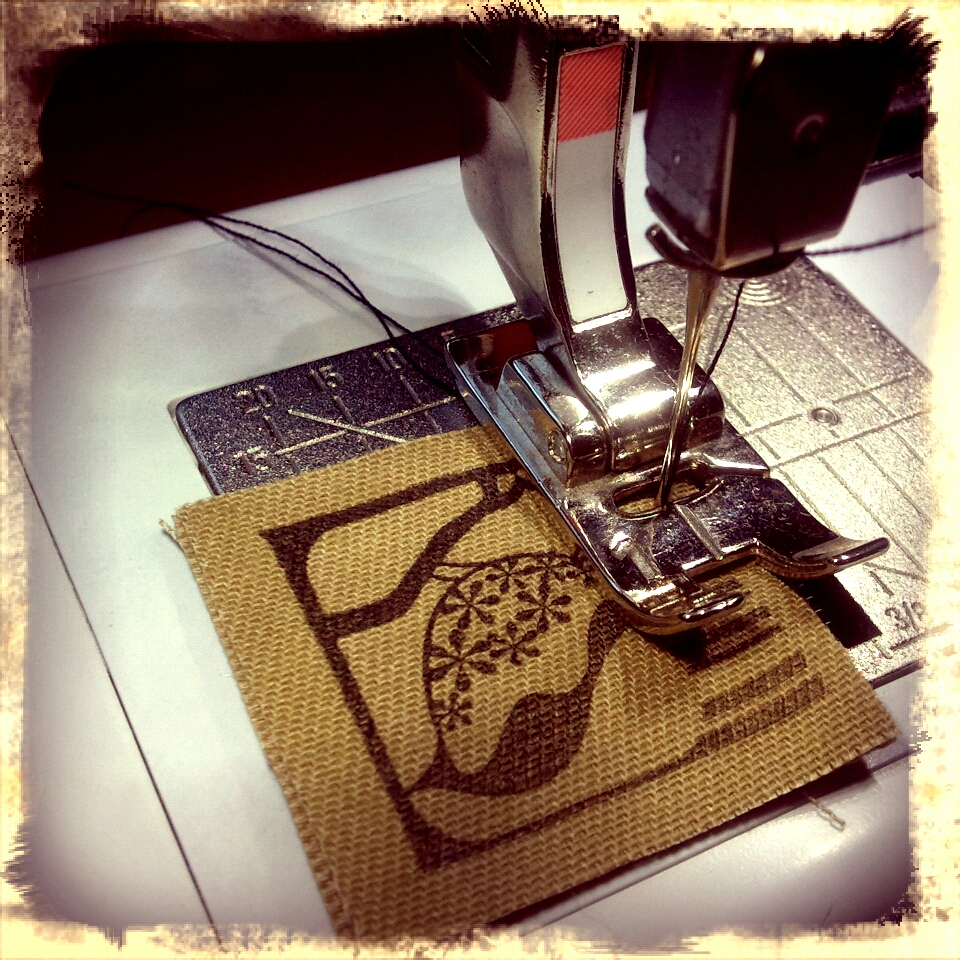
3. Stitch the two squares together. I used my sewing machine, but you can hand stitch as well. Be sure to leave one side open so you can stuff your ring.
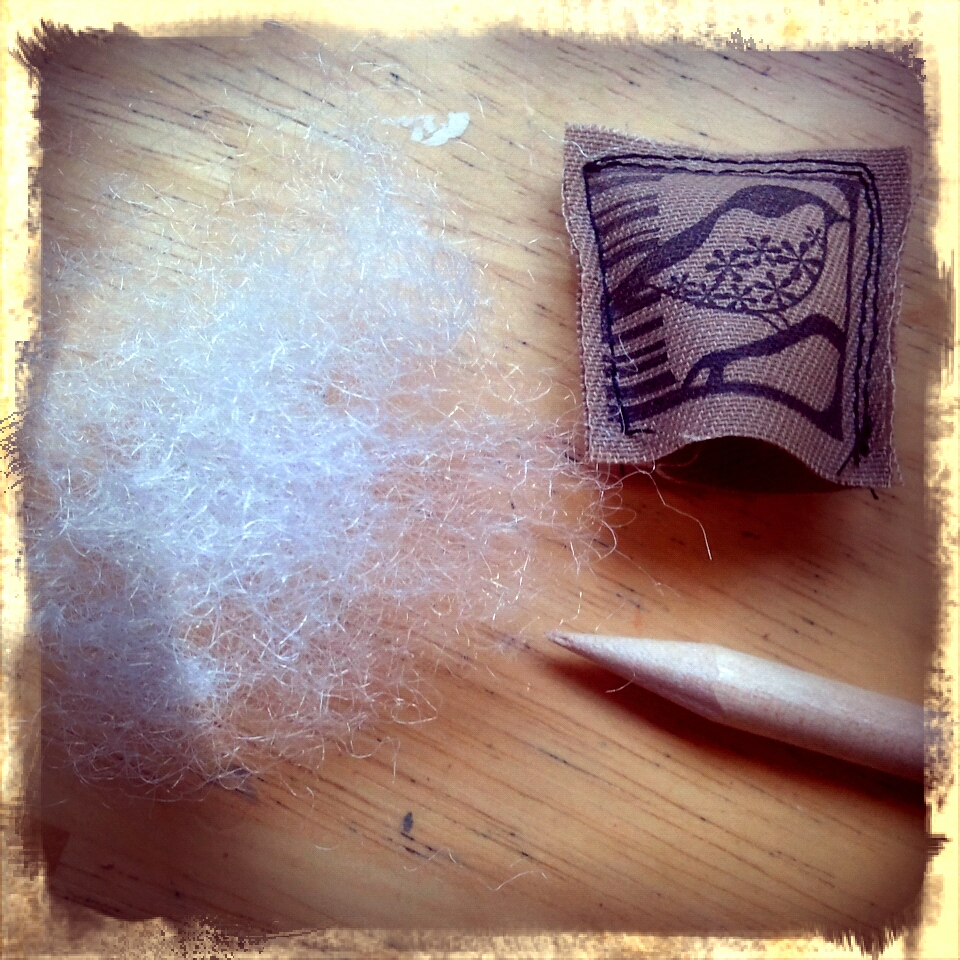
4. Stuff your ring with polyfil. I used a wooden dowel that I sharpened using a pencil sharpener to push the polyfil in. Be careful not to push to hard and rip through your stitching.
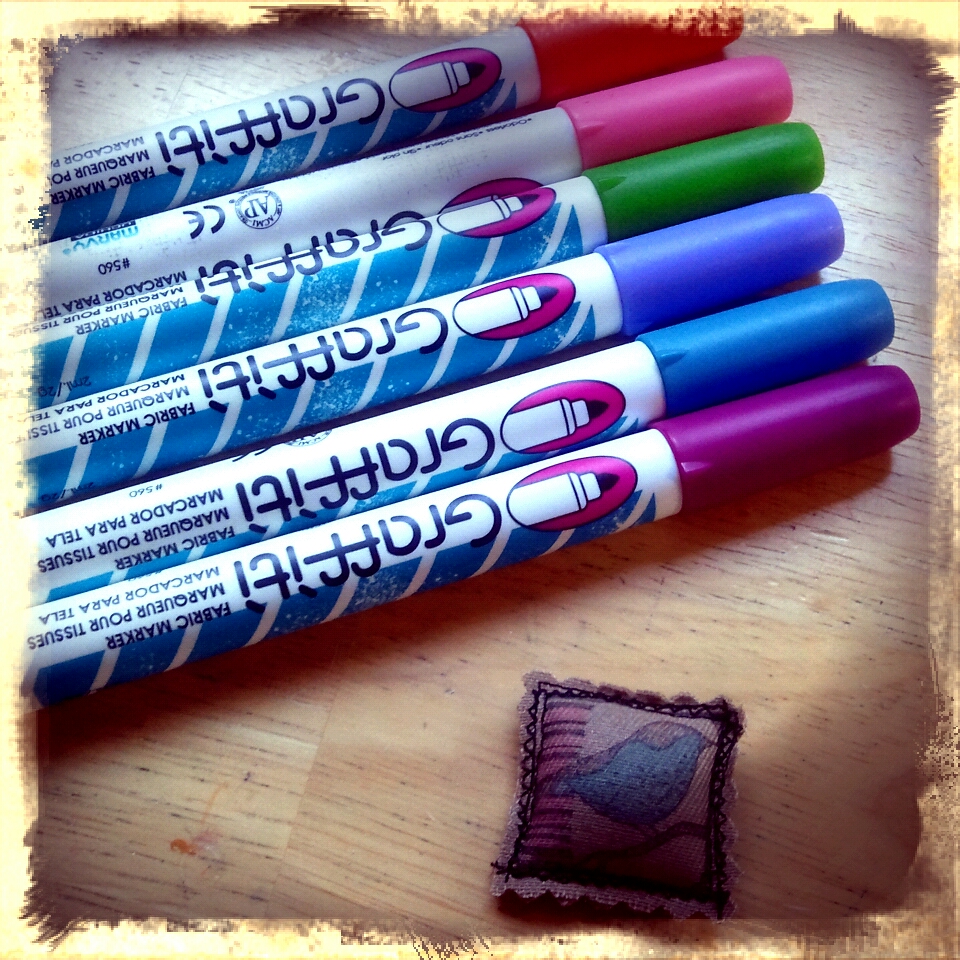
5. Once you have filled it up to your desired fullness, stitch your ring closed. Then use fabric markers to color your image.
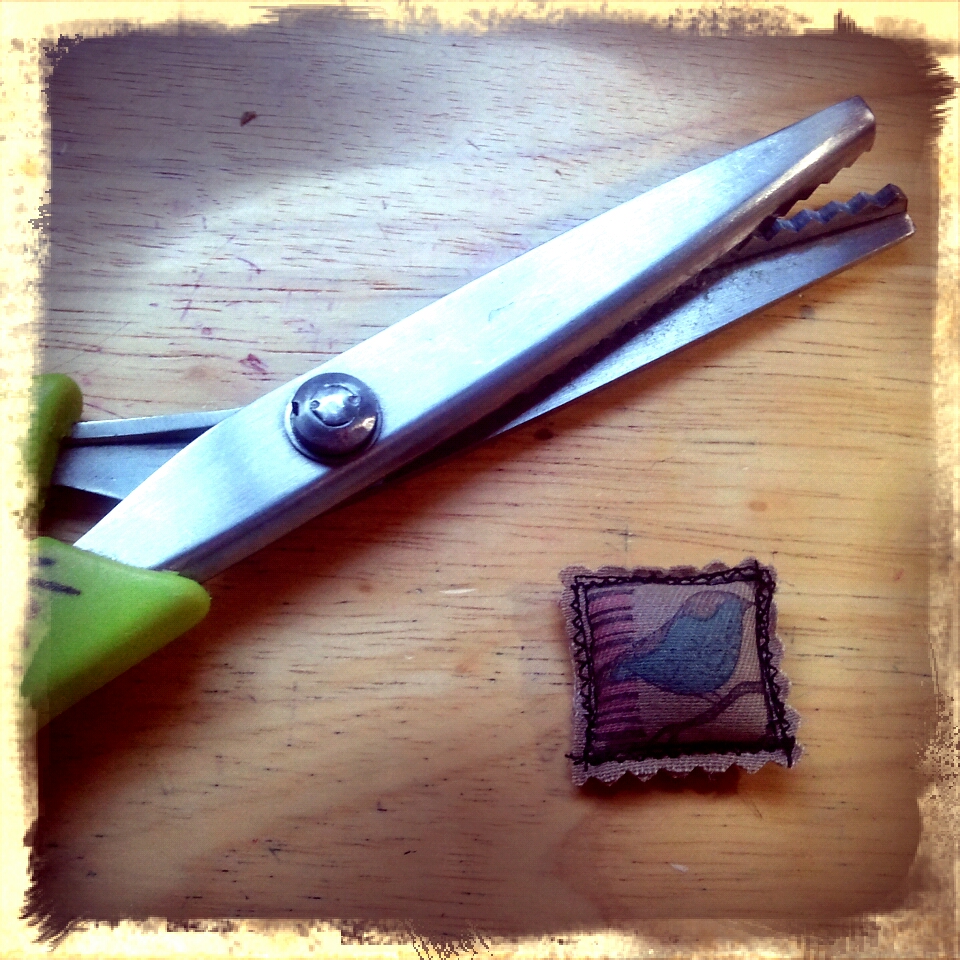
6. You can also use pinking sheers to trim some of the edges. This is optional, however it gives your ring somewhat of a distressed look and it also helps it not to fray too much.
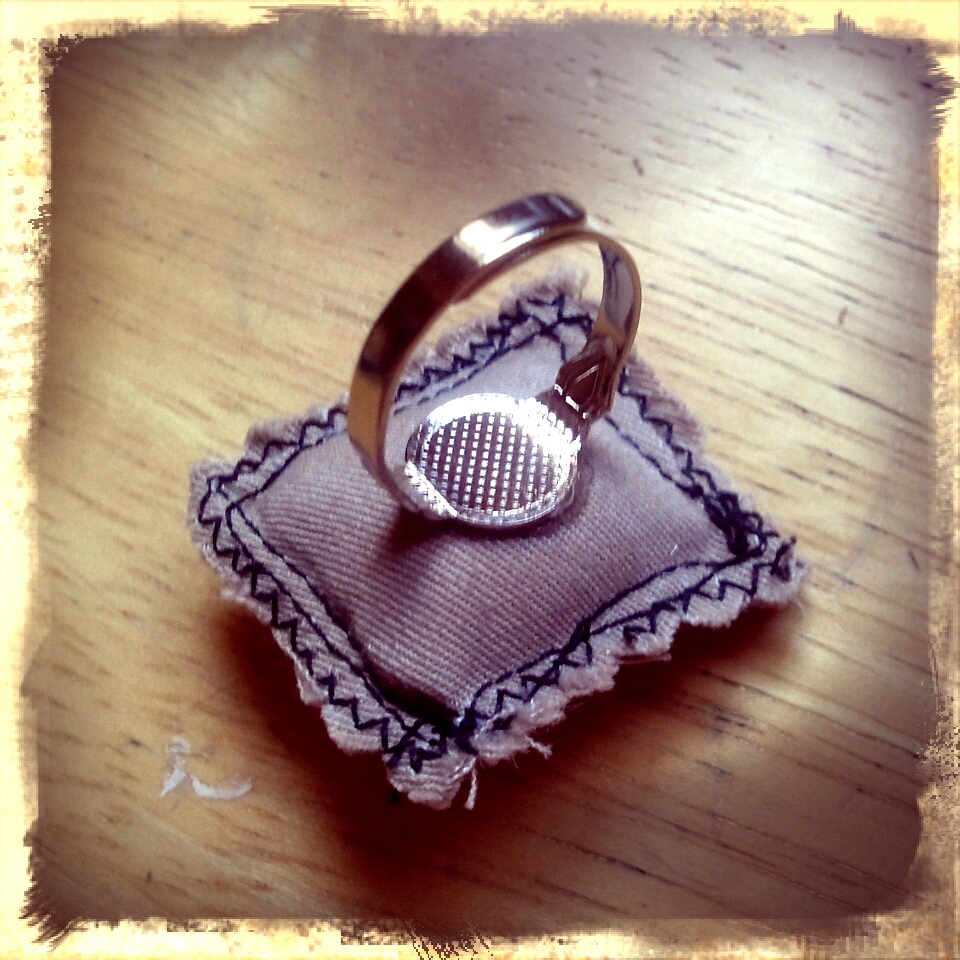
7. Use E6000 glue to glue your ring on the back of the fabric.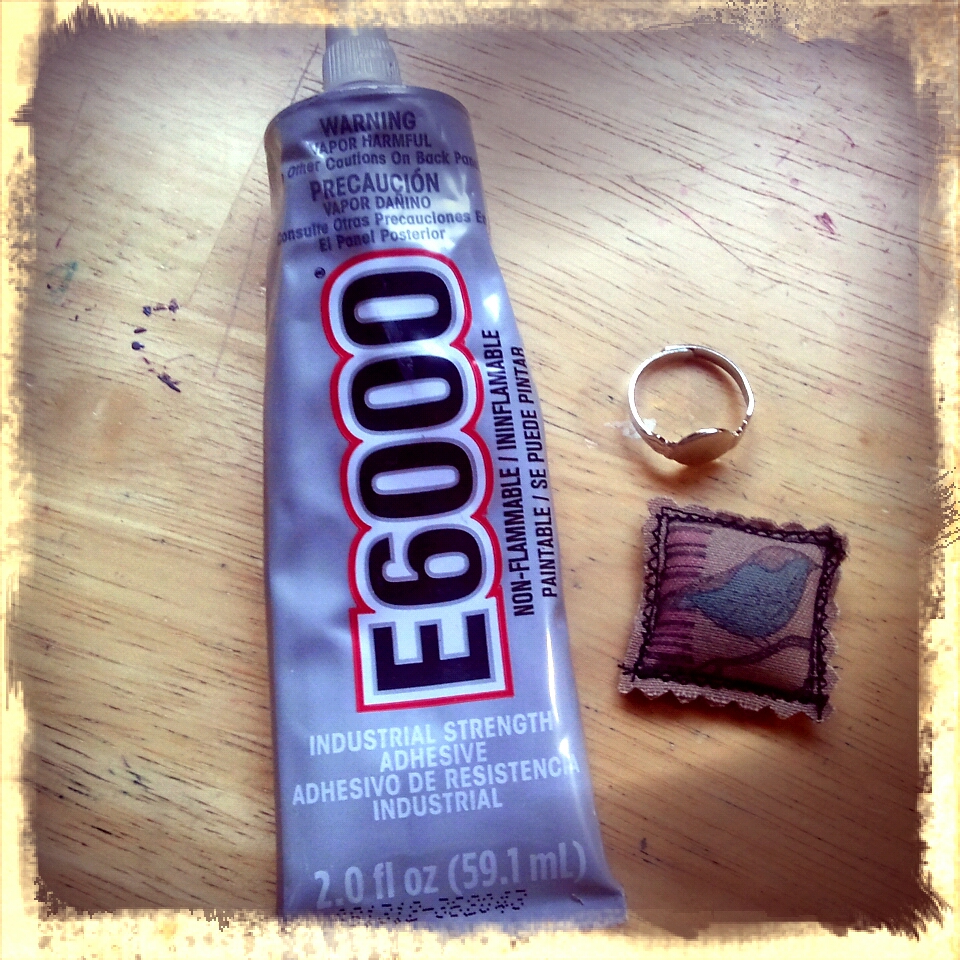
And that’s all. It’s that easy!!! Be creative, try it and have fun!


These are really cute 🙂
mahoorjamal, I was giving away rings, and since you are the first one to comment, I will be very happy to mail you one if you wish. Email me: becha4779@hotmail.com and tell me where to send it.
I would love to! But, would it be possible for you to send it to Pakistan?
Off course, why not. I am originally from Macedonia and I send things there all the time. Pakistan would not be any different.