

There is so many tutorials out there for rope bowls. I learned how to make them from an online class by Alisa Burke. She has clever ideas about decorating rope bowls. I highly recommend her class.
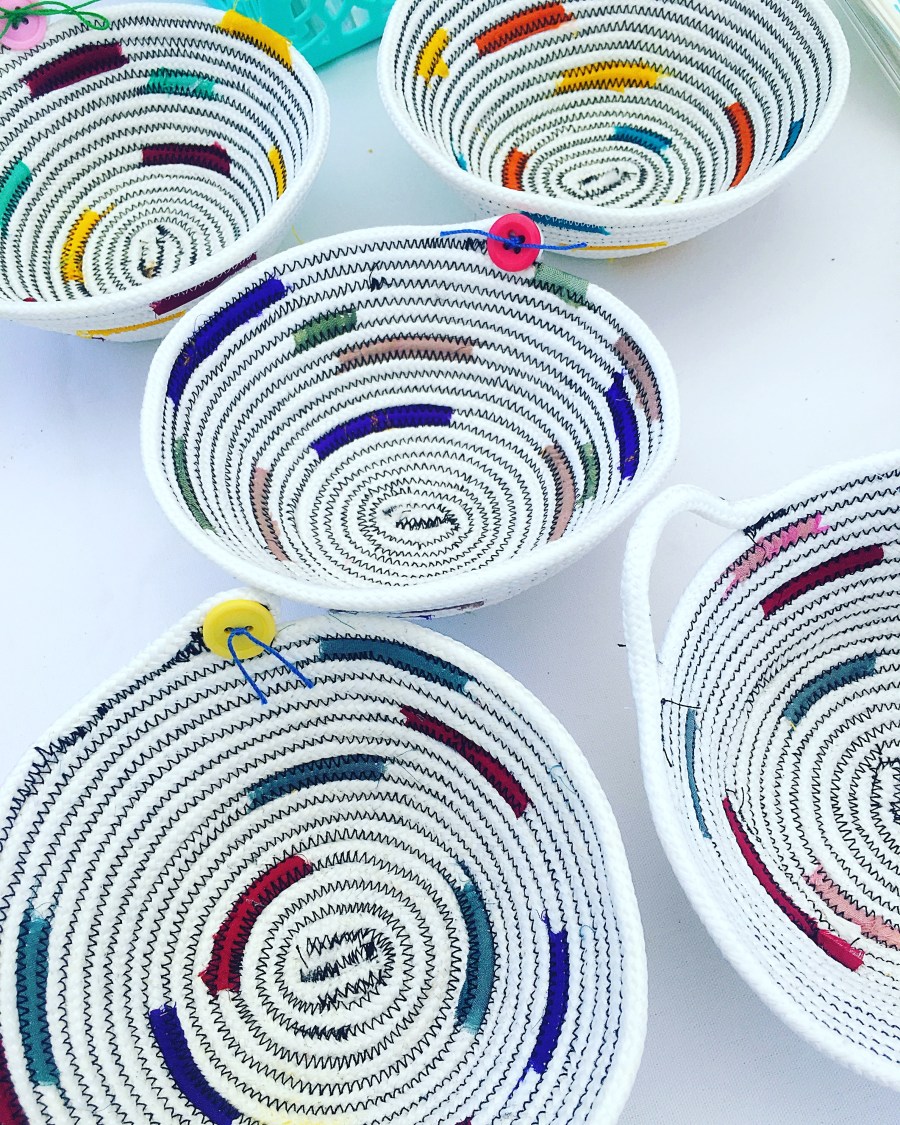
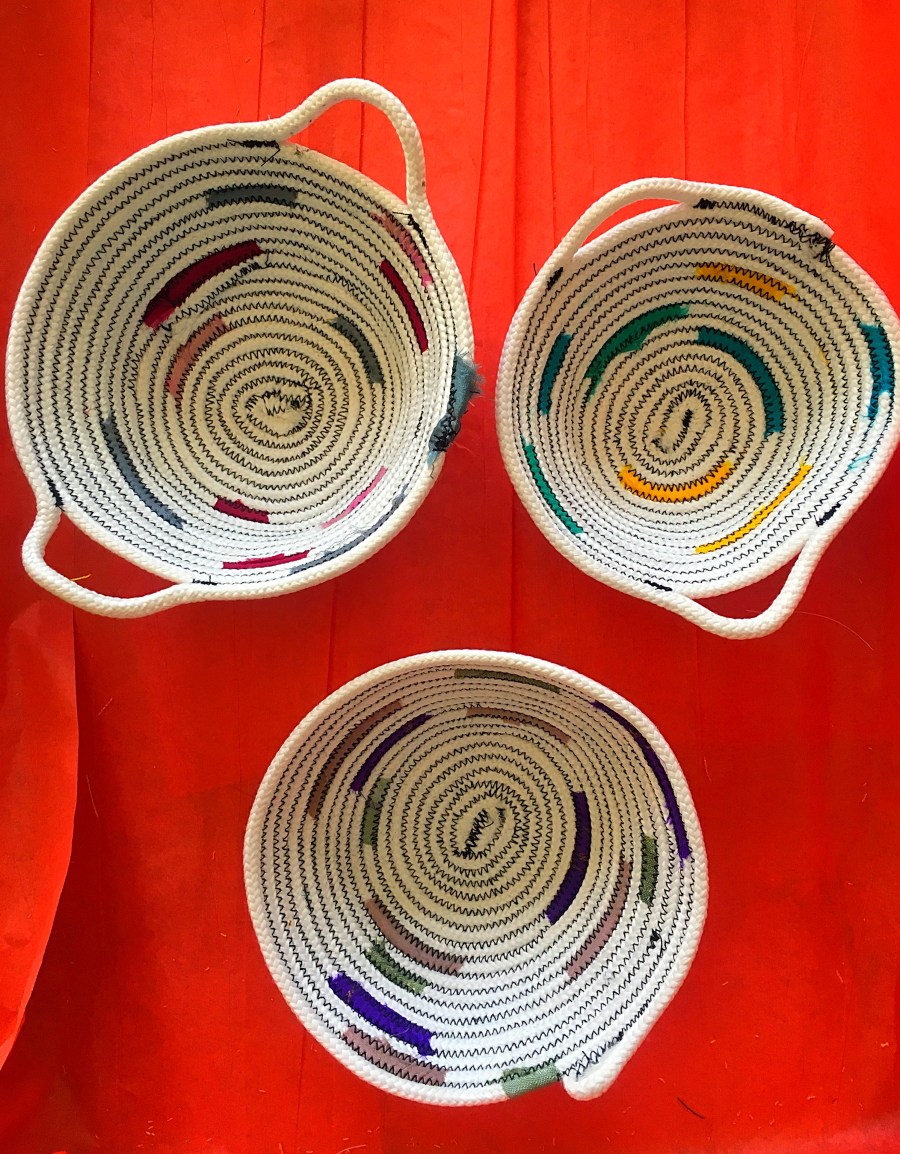
Once you learn the basic technique of stitching the rope to form a bowl, the possibilities to decorate it are endless. You can wrap up fabric around the rope. This is what most people do. You see this technique in a lot of quilting stores. Alisa paints hers. I didn’t want to wrap fabric on the entire rope, and paint is still somewhat out of my comfort zone. So I added little swatches of colorful silk ribbon throughout the rope. This gives it a whirly look. Like little paint strokes of color here and there and I really like it. It looks southwestern, but a bit more modern. Very much in line with living in Arizona.
I initially used a polyester clothesline rope I picked up at Home Depot. But I found cotton at Big Lots and I like it much better.
Below you will find steps on how to make one and I also have them available fore sale here.
To make the bowl you start by stitching the rope to form a flat circle. Similar to making a coaster.

Once you have the desired size for the bottom diameter of the bowl you push the bottom slightly up to the right so that way you can start stitching the side. Think of it like building a wall so you are stitching sideways.
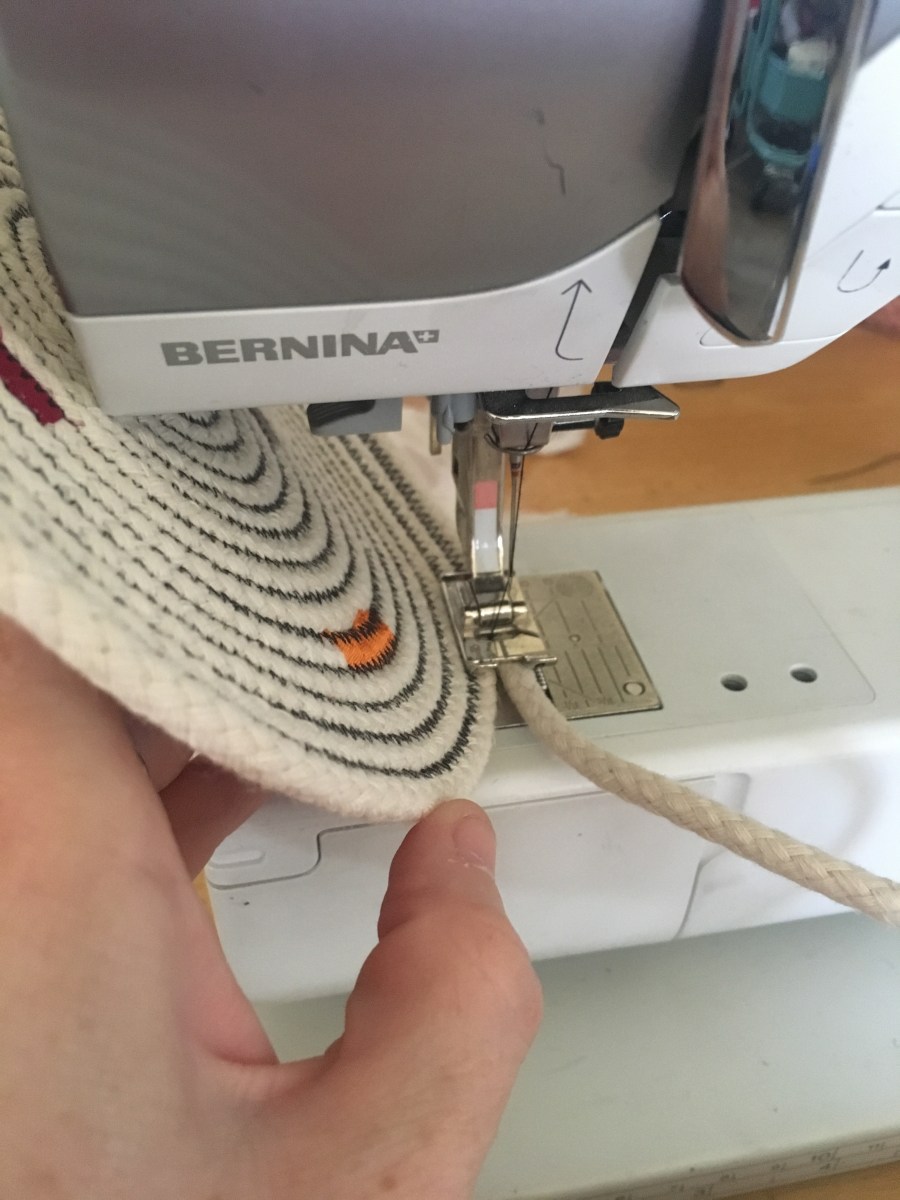
And once you have the desired hight for your bowl cut a tail about 5-6 inches and wrap it under itself. Stitch back and forth to secure it.
xoxo,
Vesna

