Friends! I finally convinced myself that I need a laptop. And while I was trying to be conservative and spend the least amount of money, quality is important so I got a MacBook Air. And because I like to make stuff more than buy stuff, I decided to skip buying all the fancy accessories and I made my own sleeve for it.
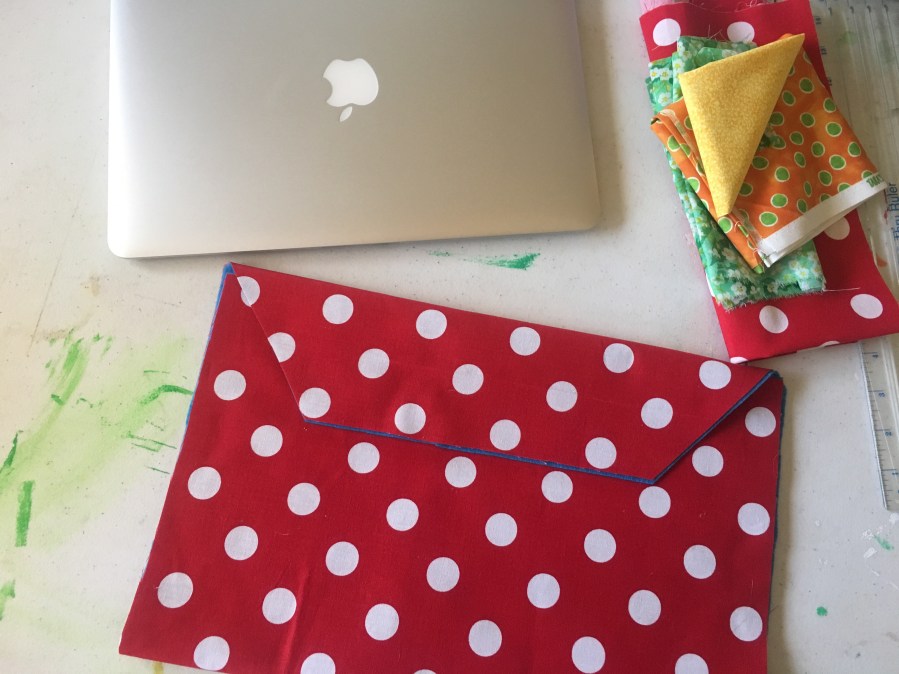
There is many ways to make a sleeve for your devices. I wanted something simple yet cool. So I settled for an envelope style sleeve. I measured the length, width and hight. To cut my fabric I doubled the length plus 5″-6″ for the flap. Then I added 1/2 of the hight to the width plus 1″ for the seam allowance.


I cut my fabric according to those measurements plus a piece of felt for the inside lining with the same dimensions.
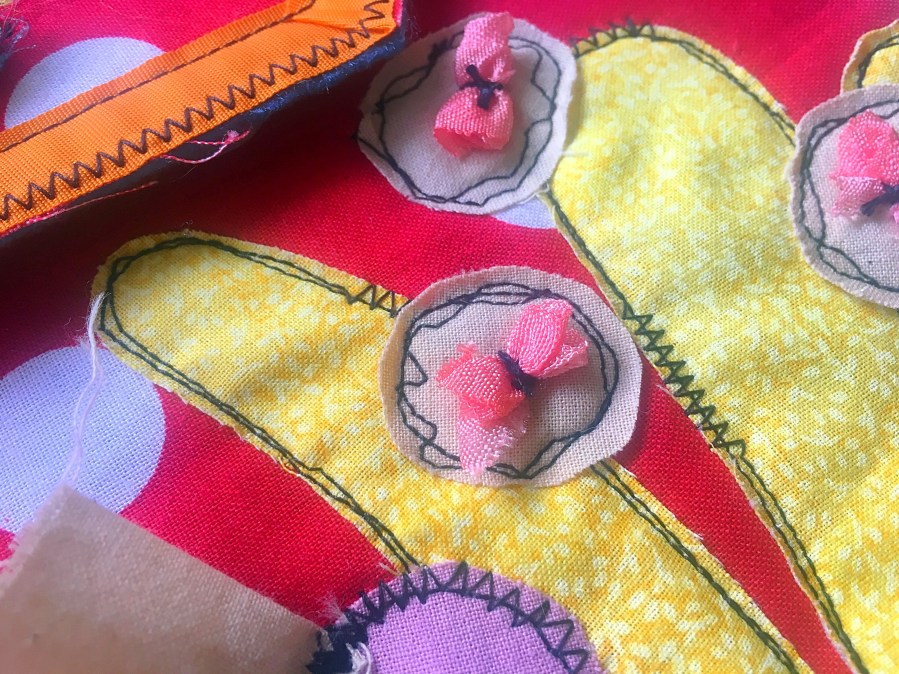
The next step was embellishing and decorating. I can’t help myself but add cacti and succulents. They are everywhere around here in Arizona and are easy for me to create.
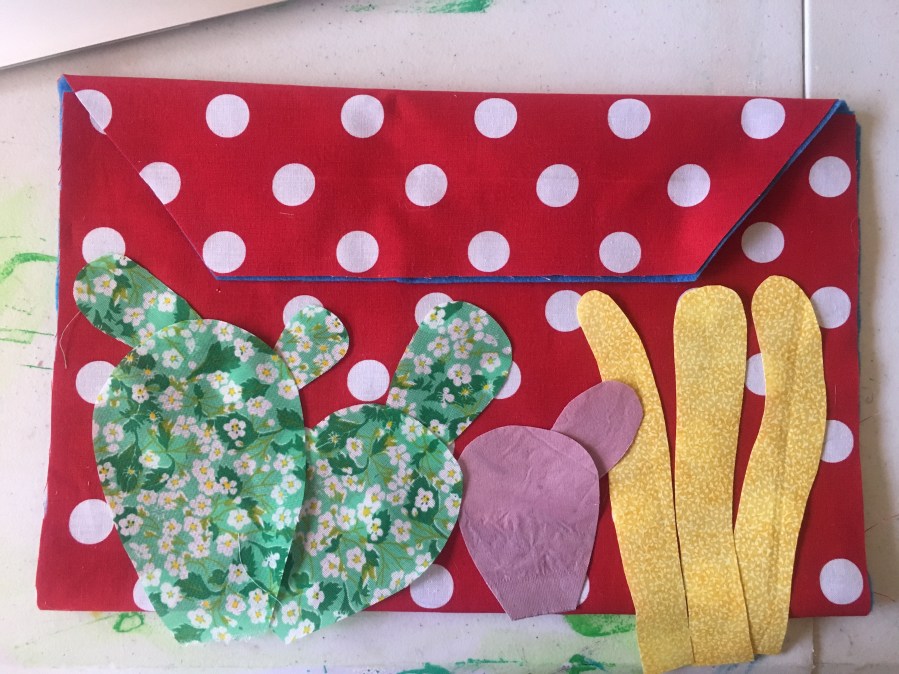
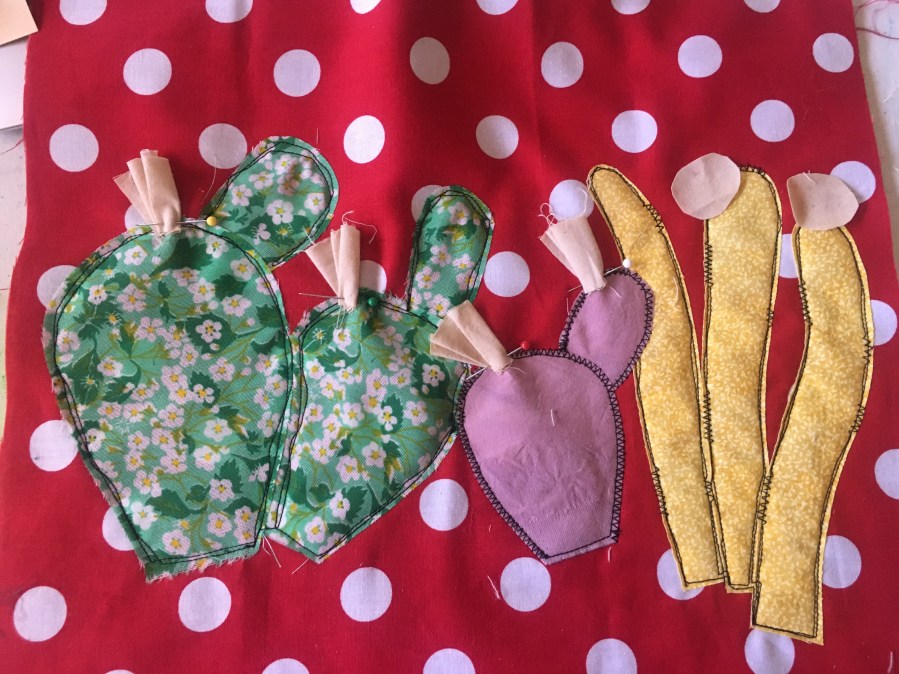
I free style most of the cutting for the embellishing. Shapes are not perfect in nature nor in my artwork. Lay out the shapes the way you want them, then one by one stitch around the edges. I took a photo to remember my layout. Once you are done with that you can add flowers to your cacti. Be as simple or as elaborate as you wish.

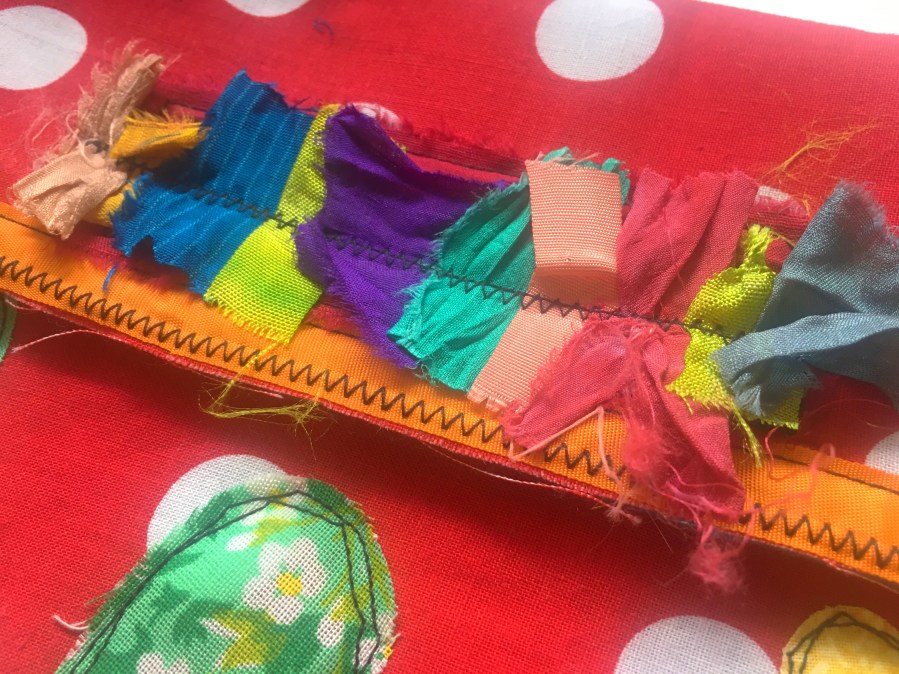
I added a piece of seam binding around the flap for additional decoration.

As well as decorated the flap a little bit.
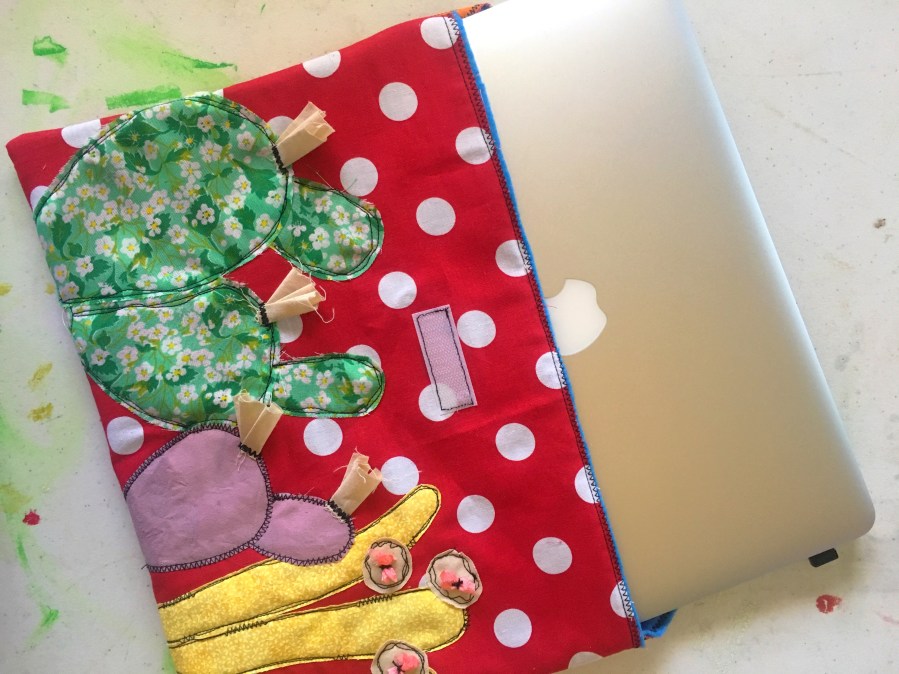
Once I was happy with my embellishments I added velcro to the flap to make it more secure and protect my new toy.

I joined the right sides together and stitched the edges. Think of this as making an envelope.
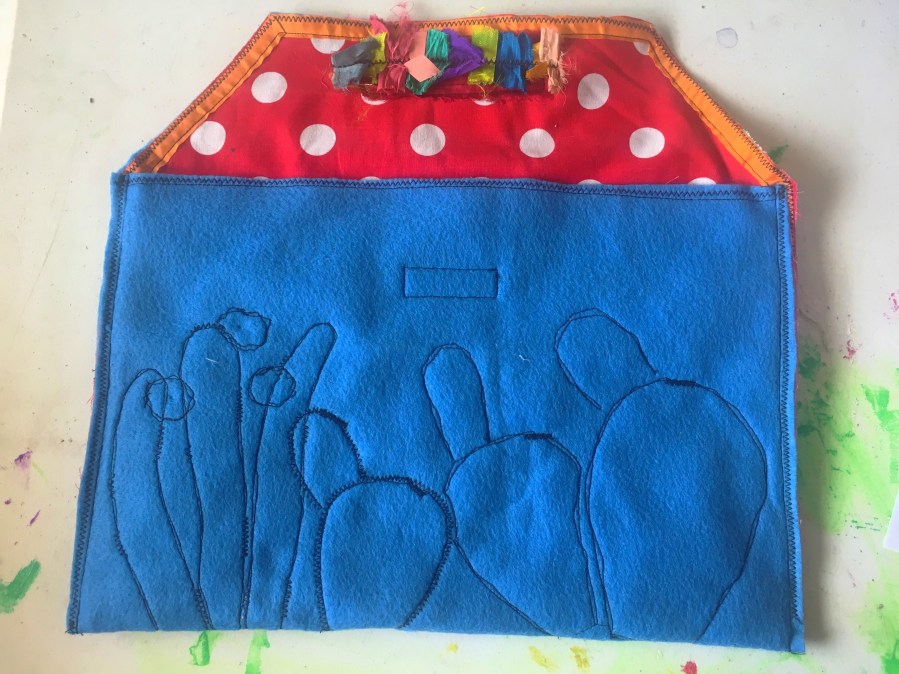
And with that my sleeve was ready!